I love DIY projects, especially furniture refinishing. It’s a fun way to make old furniture look new again. You can turn old pieces into unique treasures that show off your style.
Upcycling furniture is becoming more popular. It’s a smart choice because it saves money and helps the environment. With some effort and creativity, you can make old furniture look amazing.
In this guide, I’ll cover the basics of furniture refinishing. You’ll learn about different finishes and how to transform old furniture. It’s perfect for both experienced DIYers and beginners. You’ll enjoy making a piece that adds charm to your home.
Understanding the Basics of Furniture Refinishing
Furniture restoration and wood refinishing can make old pieces look new again. It’s a cost-effective way to give new life to furniture. You can keep family heirlooms or make furniture your own. Knowing the basics will help you feel confident in your next project.
Why Refinish Furniture?
Refinishing furniture has many benefits. It saves money by fixing what you already have. It also lets you change a piece to fit your style. Plus, it keeps the memories and history of your favorite items alive.
Types of Finishes
There are many finishes to choose from when refinishing furniture. Varnish, lacquer, and polyurethane are popular. Each has its own benefits and uses. Knowing the differences can help you pick the best one for your project.
Tools and Materials I’ll Need
- Sandpaper (various grits)
- Paint stripper or chemical solvent
- Brushes and applicators
- Protective gear (goggles, gloves, mask)
- Furniture refinishing stain or paint
- Topcoat (varnish, lacquer, or polyurethane)
- Cleaning supplies (rags, degreaser, etc.)
Having the right tools and materials is key for a successful project. Good quality and safety gear make the process smoother and safer.
Selecting the Right Piece to Refinish

Choosing the right piece to refinish is key to a successful furniture restoration project. As a DIY furniture enthusiast, I’ve learned that picking quality antique furniture and checking its condition are essential. Let’s explore these steps further.
Identifying Quality Furniture
First, look for furniture made from solid wood and sturdy materials. Check for dovetail joints and strong hardware. These signs mean the furniture will last long and look great after refinishing.
Restoring antique furniture requires a careful eye for detail. So, take your time to inspect any furniture you’re thinking of refinishing.
Considering Style and Design
Style and design are also important. Choose furniture that matches your taste and fits your home’s decor. Whether it’s a vintage dresser or a farmhouse table, restoration can give it a new life that suits your style.
Evaluating Condition
Lastly, check the furniture’s condition carefully. Look for any damage like loose joints or cracks. Also, check the finish for wear or peeling. Knowing the extent of repairs needed helps decide if it’s worth restoring.
By following these tips, you can find the perfect piece for restoration. With the right approach, you’ll create a unique, beautifully restored piece that will impress everyone.
Preparing for the Refinishing Process

Before you can give your old furniture a new look, you need to prepare it. This involves a few key steps. These steps will help you get your furniture ready for a makeover.
Cleaning the Furniture
The first thing to do is clean the furniture well. Get rid of dust, dirt, and grime that has built up. Use a mild soap and water to wipe it down, focusing on hard-to-reach spots.
This makes sure the new finish sticks well and looks even.
Removing Old Finish
Then, you’ll need to take off the old finish. You might use chemical strippers or sand it. Always follow the instructions and work in a place with good air.
Removing the old finish lets the new one bond well with the wood. This gives your furniture a fresh, new look.
Repairing Structural Damage
Before you start refinishing, check for any damage. Look for loose joints, cracks, or missing parts. Use wood glue and clamps to fix these issues.
Fixing these problems now makes your furniture sturdy and long-lasting.
By doing these steps, you’re ready for a successful DIY furniture refinishing project. With your furniture clean, stripped, and fixed, you’re on your way to a beautiful, new piece.
Choosing Your Finish: Stain or Paint?

Choosing between stain or paint for furniture refinishing is crucial. Each option has its own benefits and drawbacks. It’s important to think about what you like and what your project needs.
Pros and Cons of Stains
Stains are loved for enhancing wood’s natural beauty. They come in many colors, giving a classic look. Stains let the wood’s grain show, making furniture warm and welcoming.
However, stains might not cover up big flaws or discoloration well.
Pros and Cons of Paint
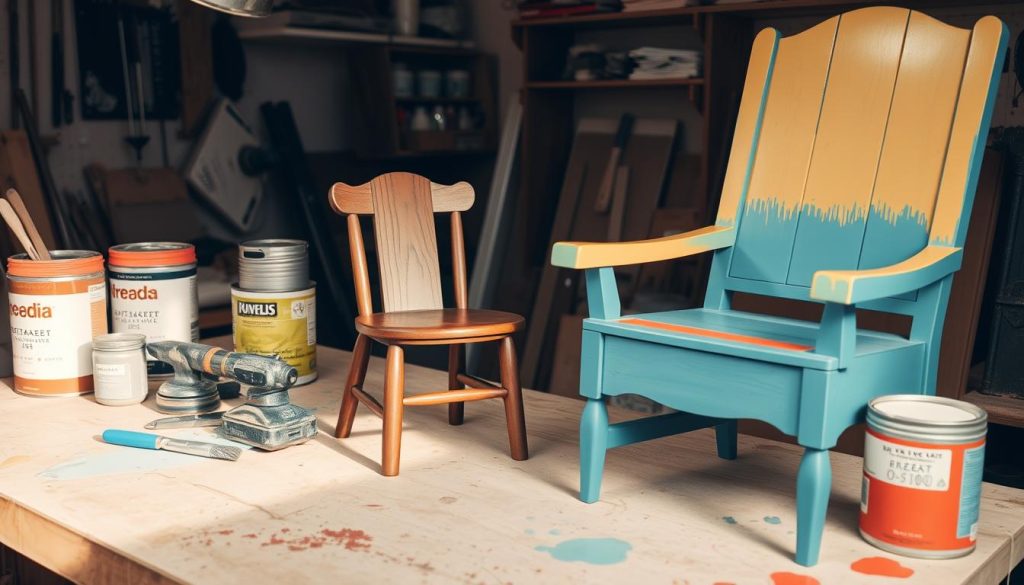
Paint, on the other hand, is versatile and customizable. It lets you change your furniture’s look with many colors and finishes. It’s great for hiding imperfections or achieving a specific style.
The downside is paint might hide the wood’s natural beauty. It also needs more prep and care over time.
How to Test Your Finish Choices
Test your finish on a small, hidden area before a big project. This lets you see how stain or paint works with the wood. It helps you make sure you’re happy with the outcome.
By trying it out, you can choose the best option for your furniture makeover.
The Step-by-Step Refinishing Process
Turning an old, worn piece of furniture into a stunning masterpiece is rewarding. The key to success is following a step-by-step process. Let’s explore the essential steps to refinish your furniture with confidence and precision.
Sanding for a Smooth Surface
The first step is to get a smooth, even surface. Start by sanding the piece thoroughly. Use finer grit sandpaper to remove old finishes, stains, or imperfections.
Focus on edges, corners, and hard-to-reach areas for a flawless finish.
Applying the Finish
After sanding, apply your chosen finish. This could be a rich stain or vibrant paint. Choose high-quality supplies and apply the finish carefully.
Use the right techniques, like brushing or spraying, for an even look. Follow the manufacturer’s drying time instructions between coats.
Final Touches and Sealing
Once the finish is dry, add the final touches. This might include distressing techniques for a vintage look. Finally, apply a protective sealant to preserve the piece.
By following these steps, you can transform old furniture into a stunning piece. With patience, the right refinishing supplies, and creativity, your DIY furniture refinishing project will be a success.
Maintenance Tips for Your Refurbished Furniture
Congratulations on your furniture restoration project! You’ve given an old piece a new life. Now, it’s key to maintain it well to keep it lasting longer. A few simple steps can help your refurbished furniture stay in top shape for years.
Regular Cleaning Techniques
Regular cleaning depends on the finish you’ve applied. For wood, use a soft cloth and mild polish to remove dust and fingerprints. Painted or laminated pieces can be cleaned with a damp cloth and all-purpose cleaner. Stay away from harsh chemicals and abrasive scrubbers to avoid damaging the finish.
How to Protect Against Damage
To shield your furniture from UV rays, keep it away from direct sunlight. Use coasters or mats to prevent water rings and moisture damage. Also, watch out for sharp objects that could scratch the surface. With a bit of care, your furniture will stay beautiful and like-new.
When to Refinish Again
Even with good care, furniture can show wear and tear over time. Look for fading, scratches, or a peeling finish. These signs mean it’s time to refinish the piece again. Regular touch-ups and applying a protective sealant can delay the need for a full refinishing.

