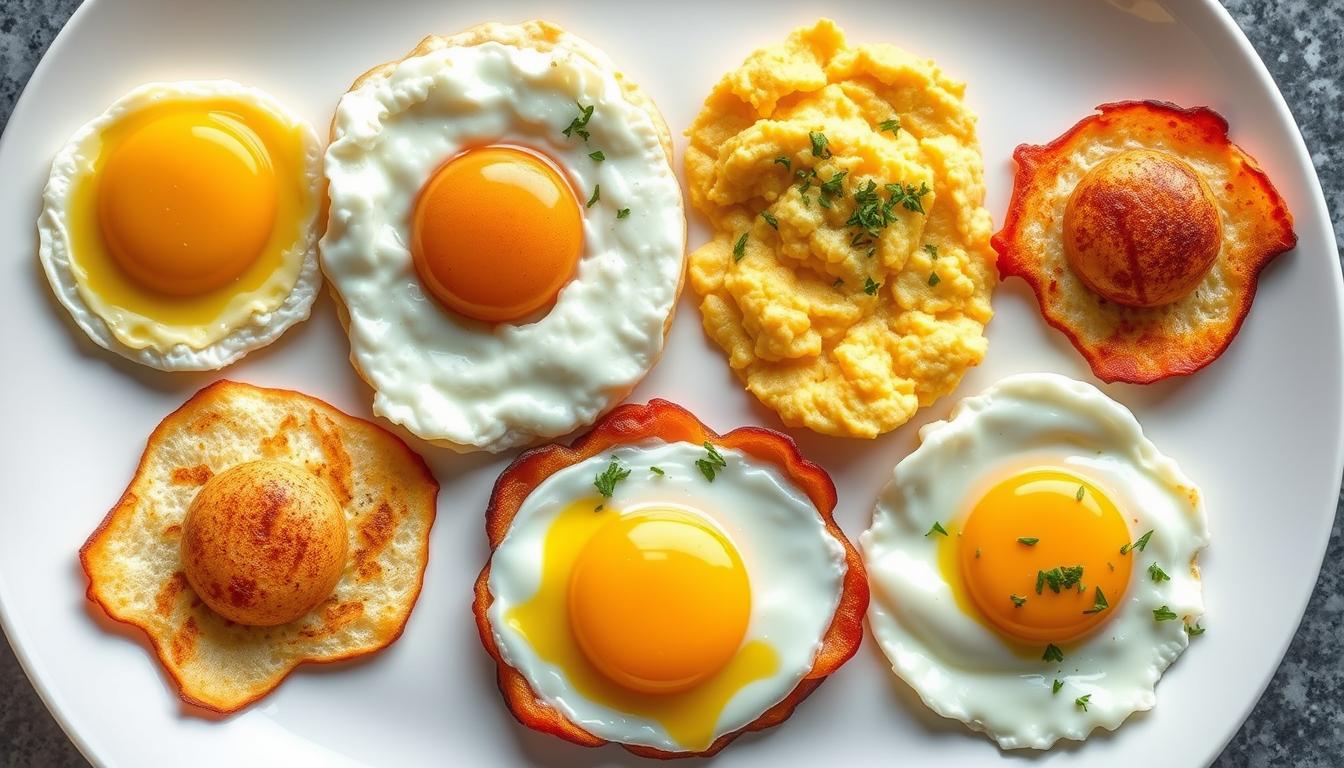
Learning how to fry eggs can make your breakfast amazing. As someone who loves cooking at home, I found that perfect fried eggs are more than just eggs in a pan. Each method adds its own special touch to your morning meal.
Whether you’re new to cooking or have been doing it for years, knowing how to fry eggs can improve your skills. You can make everything from crispy sunny-side up eggs to soft over-easy ones. There’s a way for everyone.
In this guide, we’ll cover eight different ways to fry eggs perfectly. We’ll look at both classic and new methods. These will help you make breakfast dishes that taste like they came from a restaurant.
Frying eggs is like an art that needs practice and the right tools. By learning these techniques, you’ll be able to make delicious, perfectly cooked eggs every time.
Understanding Different Egg Frying Techniques
Mastering egg frying starts with knowing the basics. Whether you cook at home or dream of being a chef, the right techniques can make a big difference. They can turn a simple breakfast into a feast for the senses.
Basic Equipment Needed for Perfect Fried Eggs
Choosing the right tools is key for perfect eggs. Here’s what I think you need:
- Non-stick skillet or cast-iron pan
- Spatula with thin, flexible edge
- Butter or cooking oil
- Instant-read kitchen thermometer
Choosing the Right Pan Temperature
The temperature of your pan is very important. I suggest keeping it between 250-275°F. This temperature helps cook the eggs just right, so they’re soft and silky.
Importance of Fresh Eggs
Fresh eggs are essential for great fried eggs. Eggs that are a few days old have better whites. This makes them look and taste better. Always pick the freshest eggs you can find.
Learning these basics will help you make fried eggs that taste like they’re from a restaurant. You can do it all in your own kitchen.
The Classic Sunny-Side Up Method
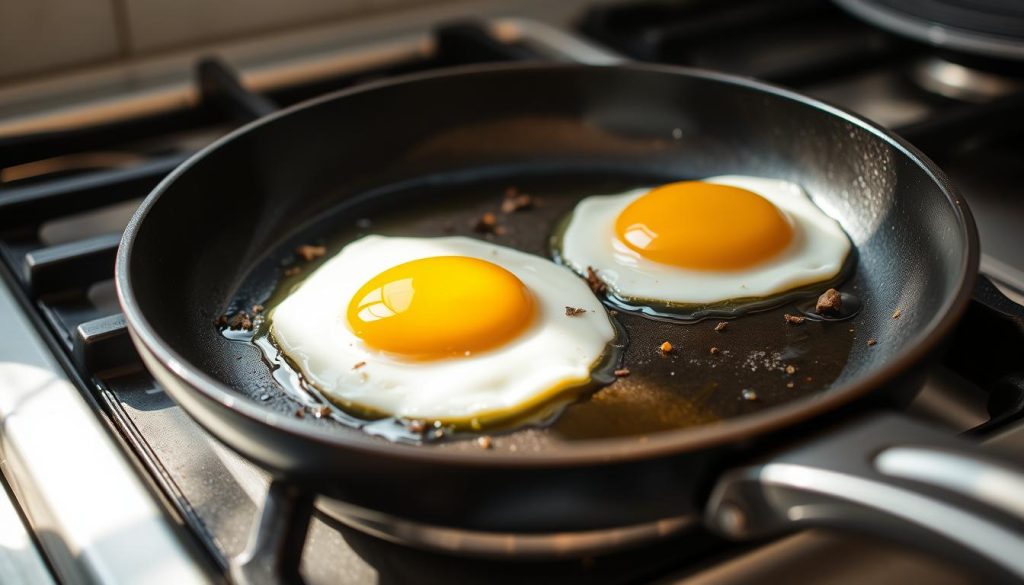
Learning to make sunny-side up eggs is key for any home cook. These eggs have a bright, unbroken yolk on top of cooked whites. They also have crispy edges. Let’s explore how to turn a simple egg into a dish that’s a real treat.
To make perfect sunny-side up eggs, you need the right tools. A non-stick skillet or a well-seasoned cast-iron pan is best. You want to cook on medium-low heat. This way, the egg whites cook well, but the yolk stays runny.
- Choose a fresh egg at room temperature
- Use a small amount of butter or oil
- Crack the egg gently into the pan
- Cook until whites are set but yolk remains liquid
To get those crispy edges, you need a bit of skill. Use a small amount of butter or oil and let the pan heat up slowly. Look for the whites to turn opaque and the edges to get golden and crispy. You want a sunny-side up egg with a runny yolk that makes a great sauce when you pierce it.
Pro tip: If you want to cook the egg faster without flipping, cover the pan with a lid for 30-60 seconds. This adds a bit of steam. It helps cook the top of the egg white while keeping the yolk runny.
Mastering the Over Easy Technique
Cooking over easy eggs is an art that needs precision and practice. You aim for a dish with a runny yolk and both sides cooked just right. I’ll guide you through the key steps to master this classic egg method.
To make perfect over easy eggs, start with the right pan and heat. A non-stick skillet is best for flipping eggs without breaking them. Heat your pan to medium-low for gentle cooking and to avoid burning.
Proper Flipping Techniques
Egg flipping is key for over easy eggs. Here are my top tips:
- Use a wide, flat spatula for smooth flipping
- Slide the spatula gently under the egg
- Lift and turn the egg in one quick, confident motion
- Avoid pressing down on the egg to maintain the runny yolk
Timing Your Flip Perfectly
Timing is everything for a runny yolk. Wait until the egg white is mostly set but still a bit translucent. This usually takes 2-3 minutes on the first side. Look for the edges to turn opaque and the bottom to get golden brown.
Achieving Runny Yolk Consistency
To get a perfect runny yolk, remove the egg from heat when the second side is light golden. The egg will cook a bit more from the heat, but the yolk won’t solidify. Serve it right away on a warm plate to keep the egg’s delicate texture.
Creating Restaurant-Style Over Medium Eggs
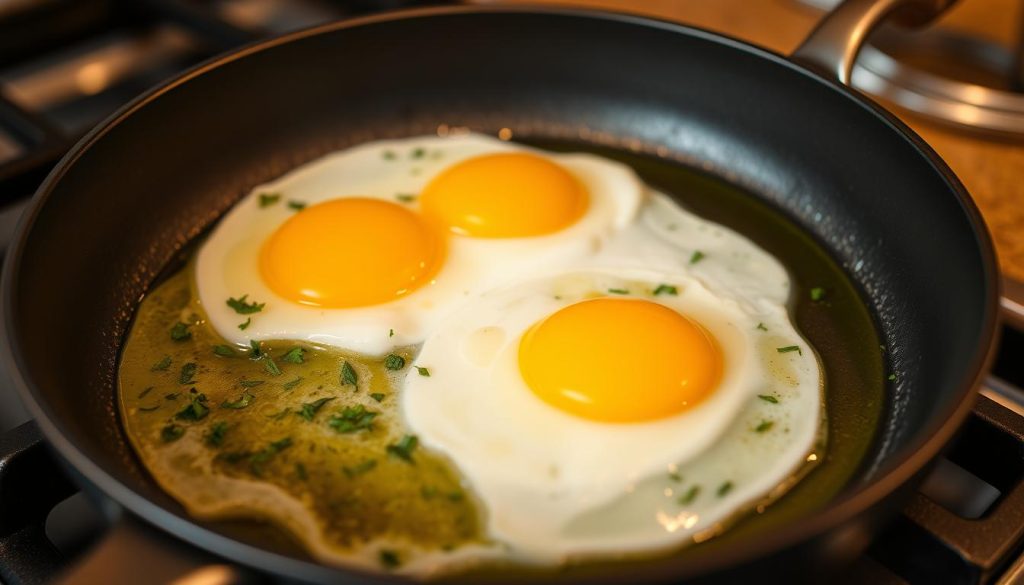
Making restaurant-quality eggs is all about precision and skill. Over medium eggs are the perfect balance between runny and fully cooked yolks. I’ll share my top tips for getting that semi-runny yolk every home cook wants.
The secret to perfect over medium eggs is knowing how to control temperature and timing. Start with a hot non-stick pan and fresh eggs at room temperature. This ensures even cooking and prevents sticking.
- Select a medium-heat setting on your stovetop
- Use butter or a light cooking oil for best flavor
- Crack eggs gently to maintain yolk integrity
When making over medium eggs, the flipping technique is crucial. Wait until the egg white is mostly set before flipping. You want a golden-brown edge and a yolk that’s not too runny but not solid.
- Cook first side for 2-3 minutes
- Flip with a thin spatula
- Cook opposite side for 1-2 minutes
Pro tip: Practice makes perfect. Don’t get discouraged if your first few attempts aren’t perfect. With patience, you’ll get the hang of making delicious over medium eggs that look and taste like they’re from a pro.
Perfecting Over Hard Eggs Without Breaking the Yolk
Cooking over hard eggs needs precision and patience. This method cooks the yolk fully while keeping the egg intact. I’ll share my best tips for making delicious and beautiful over hard eggs.
Temperature control is key when cooking over hard eggs. Start with medium-low heat to avoid burning and ensure even cooking. Slowly increase the heat to cook the yolk fully without making it rubbery.
Essential Temperature Control Tips
- Use a non-stick skillet for best results
- Preheat pan to medium-low heat
- Wait until butter or oil is slightly shimmering
- Maintain consistent temperature throughout cooking
Avoiding Common Mistakes
- Never rush the cooking process
- Use a thin spatula for clean flipping
- Cook each side evenly to prevent uncooked spots
- Press gently to ensure complete yolk cooking
When flipping over hard eggs, use a gentle touch to avoid breaking the yolk. I suggest using a wide, flat spatula and flipping the egg smoothly. Covering the pan briefly helps steam cook the yolk fully.
Remember, practice makes perfect. With these tips and careful technique, you’ll get over hard eggs that are perfectly cooked every time.
How May Ways You Can Fry an Egg?
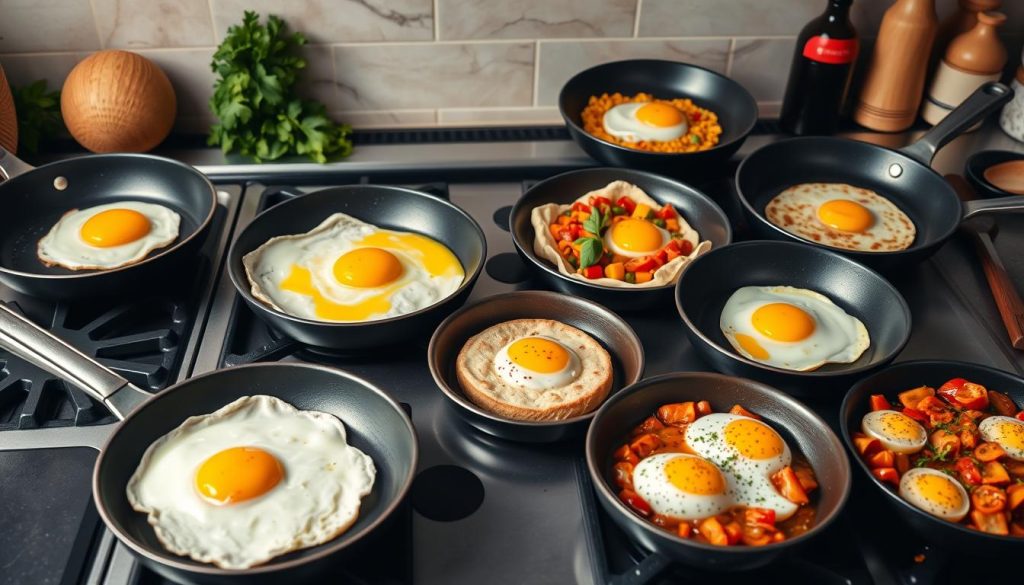
Exploring egg frying methods opens up a world of culinary creativity. It turns this simple ingredient into a canvas of delicious possibilities. As a passionate home cook, I’ve found that cooking eggs in many ways is more than just sunny-side up.
Let’s dive into the exciting world of diverse breakfast options. Eggs are incredibly adaptable. They offer multiple cooking techniques for different tastes and skill levels.
- Sunny-side up: Perfect for runny yolk lovers
- Over easy: A classic method with a gentle flip
- Over medium: Ideal for those who want partially cooked yolks
- Over hard: Complete yolk cooking for texture enthusiasts
- Basted eggs: A unique steaming technique
- Steam-fried eggs: Tender and delicate preparation
Each egg frying method adds something special to your table. Whether you’re new to breakfast or a seasoned chef, mastering these techniques lets you make restaurant-quality eggs at home. The secret is knowing the right temperature, timing, and pan.
From crispy edges to perfectly runny centers, egg frying is a culinary adventure. Your breakfast will never be boring again!
The Art of Basted Eggs
Basted eggs are a special cooking method that makes fried eggs extra tasty. By pouring hot oil or butter over the egg while it cooks, you get a rich, creamy texture. This turns a basic breakfast into a gourmet treat.
Oil Basting vs Butter Basting: Understanding the Differences
There are two main ways to baste eggs: oil basting and butter basting. Each method gives the egg a unique taste and feel.
- Oil basting makes the egg light and crispy
- Butter basting adds a deep, golden flavor
- Both methods cook the egg’s top without flipping it
Creating the Perfect Baste
To make great basted eggs, you need practice and care. Start with a non-stick pan and medium-low heat. For oil basting, use oils like vegetable or grapeseed. For butter basting, choose unsalted butter to avoid too much salt.
- Heat your pan and add a small amount of oil or butter
- Crack the egg gently into the pan
- Use a spoon to scoop and pour hot fat over the egg’s surface
- Cook until the white is set and the top looks shiny
Basted eggs can make your breakfast taste like it’s from a fancy restaurant. With a little technique and patience, you can achieve this at home.
Achieving Crispy-Edge Fried Eggs
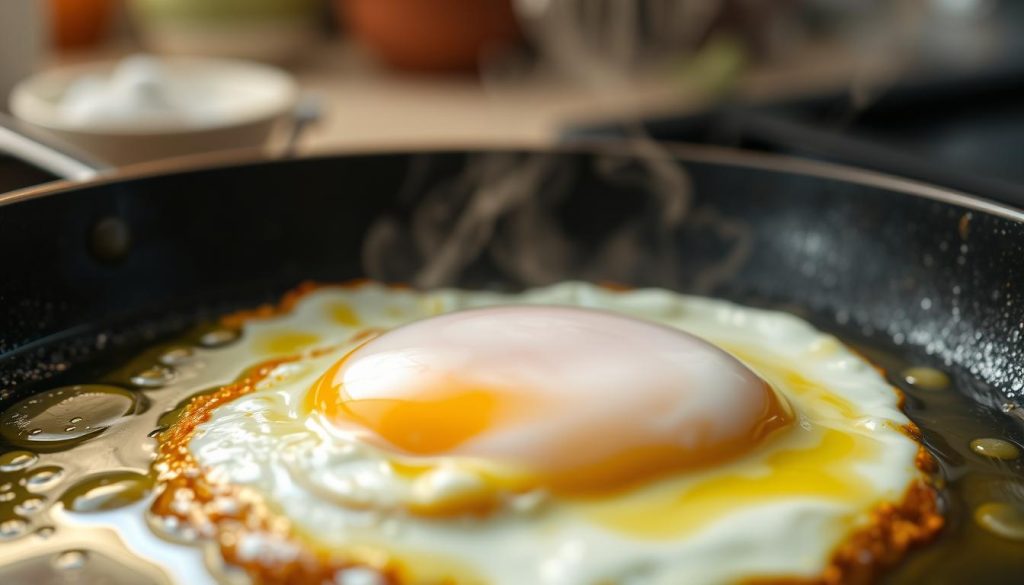
Making the perfect fried egg with crispy edges is an art. It needs precision and practice. High-heat frying is key to getting those lacy, crackling egg whites. I’ve honed this skill over years and am eager to share my best tips.
The secret to crispy edges is the right pan and oil. Cast iron or heavy stainless steel pans are best for high heat. Use oils like avocado or grapeseed, which handle heat well without burning.
- Choose a hot pan (around 375-425°F)
- Use a thin layer of high-smoke-point oil
- Allow the oil to shimmer before adding the egg
- Tilt the pan to spread the oil evenly
To get lacy egg whites, start with a very hot pan and pour in oil. Wait until it’s almost smoking, then crack the egg. The edges will bubble and crisp, making a stunning, crunchy texture.
Pro tip: Don’t move the egg too much. Let it sit to develop crispy edges naturally. The magic happens when the egg white meets hot oil, creating those irresistible crispy borders.
Steam-Frying Method for Tender Eggs
Discovering the perfect technique for steam-fried eggs can change your breakfast game. Steam-frying is a special cooking method. It makes tender egg whites with little oil and lots of flavor. I’ll share the secrets of this delicate cooking approach.
When making steam-fried eggs, it’s important to know about covered pan frying. This method keeps moisture in and cooks eggs gently. It prevents tough, rubbery egg whites.
Managing Steam Levels
Controlling steam is key for the perfect texture. Here are my top tips for managing steam during cooking:
- Use just a few tablespoons of water in the pan
- Cover the pan with a tight-fitting lid
- Watch for steam buildup and adjust heat accordingly
- Remove lid at the right moment to prevent overcooking
Timing and Temperature Control
Precise timing is crucial for tender egg whites. Start with medium-low heat and watch your eggs closely. The entire steam-frying process usually takes 2-3 minutes, depending on your desired doneness.
Pro tip: A cast-iron or non-stick skillet is best for steam-fried eggs. It provides even heat and prevents sticking.
Essential Tips for Oil and Butter Selection
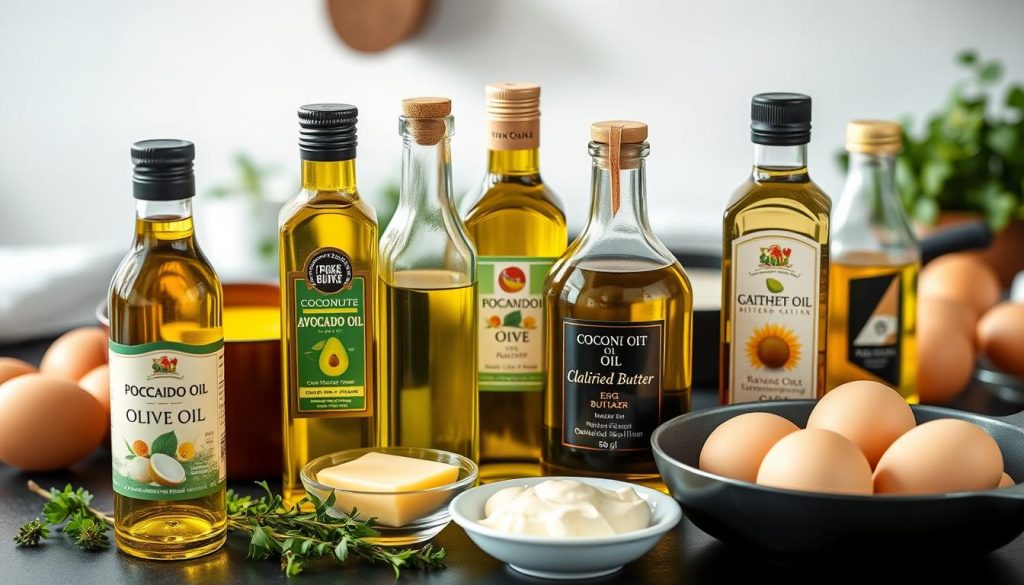
Choosing the right cooking oils and butter can make a big difference in frying eggs. Not all fats are the same when it comes to taste and cooking. This is something I’ve learned.
When picking cooking oils for frying eggs, keep these points in mind:
- Smoke point of the oil
- Flavor profile
- Nutritional value
- Cooking temperature
For frying, I recommend clarified butter (ghee) and unsalted butter. Ghee has a high smoke point, perfect for crispy egg edges without burning. Unsalted butter adds a rich, creamy taste that makes the dish better.
Different oils bring unique benefits for cooking eggs:
- Olive oil: Great for low-heat cooking
- Avocado oil: High smoke point, neutral flavor
- Coconut oil: Adds subtle sweetness
- Vegetable oil: Budget-friendly option
Choosing the right fat can enhance flavor. Try different oils and butters to find your favorite egg-frying mix. The right fat can turn a simple egg into a delicious dish.
Seasoning Techniques for Fried Eggs
Learning how to season eggs can make a big difference. Salt and pepper are always a good start. But, trying out herbs and spices can really take your breakfast to the next level.
Getting the flavors right is important. Start with good sea salt and fresh black pepper. These basics help you build on more complex tastes.
- Kosher salt for a clean, pure seasoning
- Freshly cracked black pepper for robust flavor
- Smoked paprika for a hint of warmth
- Dried herbs like oregano or thyme
- Red pepper flakes for a spicy kick
Trying new herbs and spices can make a simple egg into a fancy dish. Try za’atar for a Middle Eastern flavor or everything bagel seasoning for a tasty mix.
Remember, season your eggs just before you serve them. This keeps the flavor and texture at their best. Different grinds of salt and pepper can change how your egg tastes.
- Sprinkle seasonings from a height for even distribution
- Taste and adjust seasonings to your preference
- Consider the dish you’re pairing with the egg
Whether you like it simple or adventurous, the most important thing is to have fun. Find the seasoning mix that you love the most.
Troubleshooting Common Egg Frying Problems
Even experienced cooks face challenges when frying eggs. Sticking eggs can ruin a perfect breakfast. But, with the right techniques, you can fix these mistakes. Always use a well-seasoned or non-stick pan to prevent eggs from sticking.
Broken yolks can be a big problem. To avoid this, use fresh eggs at room temperature. Gently crack them into the pan. Don’t drop eggs from high heights to prevent yolk damage.
A spatula with a thin, flexible edge is helpful. It lets you lift and move eggs carefully without breaking the yolk.
Temperature control is key to prevent uneven cooking. Use medium-low heat to cook the egg white without scorching. Keep the yolk soft. If you see browning edges or crispy spots, adjust the heat right away.
Professional chefs suggest using a heavy-bottomed pan. It distributes heat evenly for better egg frying results.
Practicing these techniques will improve your breakfast game. Remember, every mistake is a chance to get better. With patience and practice, you’ll make perfect fried eggs every time.
Repurposing the Eggshells
In the Garden
- Compost
- Why: Eggshells are rich in calcium carbonate, a key nutrient for plants.
- How: Rinse and crush the shells to help them break down faster in compost. They balance pH levels and enrich the compost with minerals.
- Soil Amendment
- Why: Adding crushed eggshells to soil improves its structure and provides long-term calcium.
- How: Dry and crush eggshells into fine pieces. Sprinkle them into the soil or mix them into planting beds.
- Pest Deterrent
- Why: Slugs, snails, and some soft-bodied pests avoid the sharp edges of eggshells.
- How: Scatter coarsely crushed shells around the base of plants to create a natural barrier.
- Seed Starters
- Why: Eggshells are biodegradable and provide a calcium boost as they decompose.
- How: Carefully crack eggs in half, rinse, and fill each half with soil. Plant seeds inside and place the shells in an egg carton for stability.
For Cleaning
- Natural Abrasive
- Why: The rough texture of eggshells can remove stuck-on grime without harsh chemicals.
- How: Blend shells into coarse bits and mix with a small amount of soapy water for scrubbing cookware.
- Sink Deodorizer
- Why: Eggshells help clean and deodorize garbage disposals.
- How: Drop a handful of crushed shells into the disposal, run it briefly with water, and then rinse thoroughly.
Health and Beauty
- Calcium Supplement
- Why: Eggshells are over 90% calcium carbonate, essential for bone health.
- How: Boil to sterilize, bake at 200°F (93°C) for 10 minutes, and grind into a fine powder. Add ½ teaspoon to smoothies or recipes (consult a doctor first).
- Face Scrub
- Why: The powder provides gentle exfoliation.
- How: Mix finely ground eggshells with honey or aloe vera and massage onto your face. Rinse well.
- First Aid
- Why: The eggshell membrane contains nutrients that may speed healing and reduce pain.
- How: Gently peel the inner membrane from a shell and place it on small cuts or scrapes.
Crafts and DIY
- Chalk
- Why: Eggshells can substitute for calcium carbonate in homemade chalk.
- How: Mix 1 tablespoon of flour, 1 teaspoon of eggshell powder, and water to form a paste. Shape and dry.
- Decorations
- Why: Eggshells can be transformed into creative, Eco-friendly crafts.
- How: Use halved shells for candles or paint them for ornaments. They can also serve as tiny planters for micro-greens or succulents.
- Mosaic Art
- Why: Eggshells provide a unique texture for art projects.
- How: Dye or paint eggshell pieces, then glue them onto surfaces like frames or canvases to create colorful mosaics.
In the Kitchen
- Coffee Enhancer
- Why: Eggshells neutralize the acidity in coffee, making it smoother.
- How: Add a few crushed shells to coffee grounds before brewing. Strain out the shells with the grounds.
- Broth Enrichment
- Why: Eggshells add minerals, especially calcium, to broths.
- How: Add cleaned shells to broth during simmering and strain them out before consuming.
Miscellaneous
- Pet Food Supplement
- Why: Pets need calcium for healthy bones and teeth.
- How: Grind sterilized shells into a fine powder and mix it sparingly into pet food (check with your vet first).
- Deodorizer
- Why: Eggshells can absorb and neutralize odors.
- How: Place a bowl of crushed shells in your fridge, trash can, or other odor-prone areas.
These uses demonstrate the versatility of eggshells and how they can reduce waste while benefiting your home, garden, and health.

