Welcome to my beginner’s guide to seed saving. I’m excited to share my knowledge with you. Saving seeds from your favorite plants is a rewarding process.
Seed saving helps preserve plant diversity and saves money. In this guide, you’ll learn how to start saving seeds. You’ll discover the importance and the best ways to harvest and store seeds.
This article will make seed saving easy and fun. We’ll cover choosing the right seeds, harvesting at the right time, and proper storage. Whether you’re new to gardening or experienced, this guide will help you become more self-sufficient.
Why Seed Saving is Important for Gardeners
As a gardener, I’ve learned how crucial seed saving is. It helps me keep the genetic diversity of my plants alive. It also cuts down my need for commercial seeds, saving me money and supporting green gardening.
Seed saving tips are key for gardeners starting this journey. It lets us keep our favorite plants around, even if they’re hard to find. It also helps keep our gardens diverse, saving special and old varieties.
Benefits of Seed Saving
- Preserves genetic diversity of plants
- Reduces reliance on commercial seed suppliers
- Saves money
- Supports sustainable gardening practices

Environmental Impact
Seed saving is good for the planet. It lowers our need for commercial seeds, cutting down on carbon emissions. It also encourages us to grow varieties that fit our local weather and soil better.
Cost Savings
Seed saving is a big money-saver. By saving seeds, we don’t have to buy new ones every year. This not only saves us money but also lets us share seeds with others, building a community.
Choosing the Right Seeds to Save
When you start saving seeds, picking the right ones is key. It’s important to know the difference between open-pollinated and hybrid seeds. Open-pollinated seeds are best for saving because they grow plants similar to the parent.
Hybrid seeds, however, are made for specific traits and may not save well. Heirloom seeds are open-pollinated and have been saved for many years. They help keep genetic diversity alive and bring back old flavors and textures.
Open-Pollinated vs. Hybrid Seeds
- Open-pollinated seeds produce plants that are similar to the parent plant
- Hybrid seeds may not produce consistent results when saved
- Heirloom seeds are a type of open-pollinated seed that has been saved and passed down for generations
When you start saving seeds, choose ones that fit your climate and growing conditions. By picking the right seeds and using good saving techniques, you’ll get a great harvest. Plus, you’ll help keep your favorite varieties alive.
Heirloom Seeds and Their Significance
Heirloom seeds let you connect with the past and enjoy heritage flavors and textures. Saving and sharing heirloom seeds helps keep these unique varieties alive. This way, they’ll be available for future generations.
Best Practices for Harvesting Seeds
Harvesting seeds is a key part of saving seeds. It’s important to pick the right time and use the correct tools. I look at the plant type and weather to find the best time.
Timing the Harvest
The harvest time varies by plant and climate. For instance, marigold and zinnia seeds are ready when the flowers dry and turn brown. I watch my plants and research to know when to harvest.
Tools I Use for Collecting Seeds
I use different tools to collect seeds, including:
- Gardening scissors for cutting seed heads
- Paper bags for collecting and storing seeds
- A small brush for gently removing seeds from the plant
These tools help me harvest seeds efficiently and keep them safe.
By using these methods, you can have a great harvest and enjoy seed saving. 
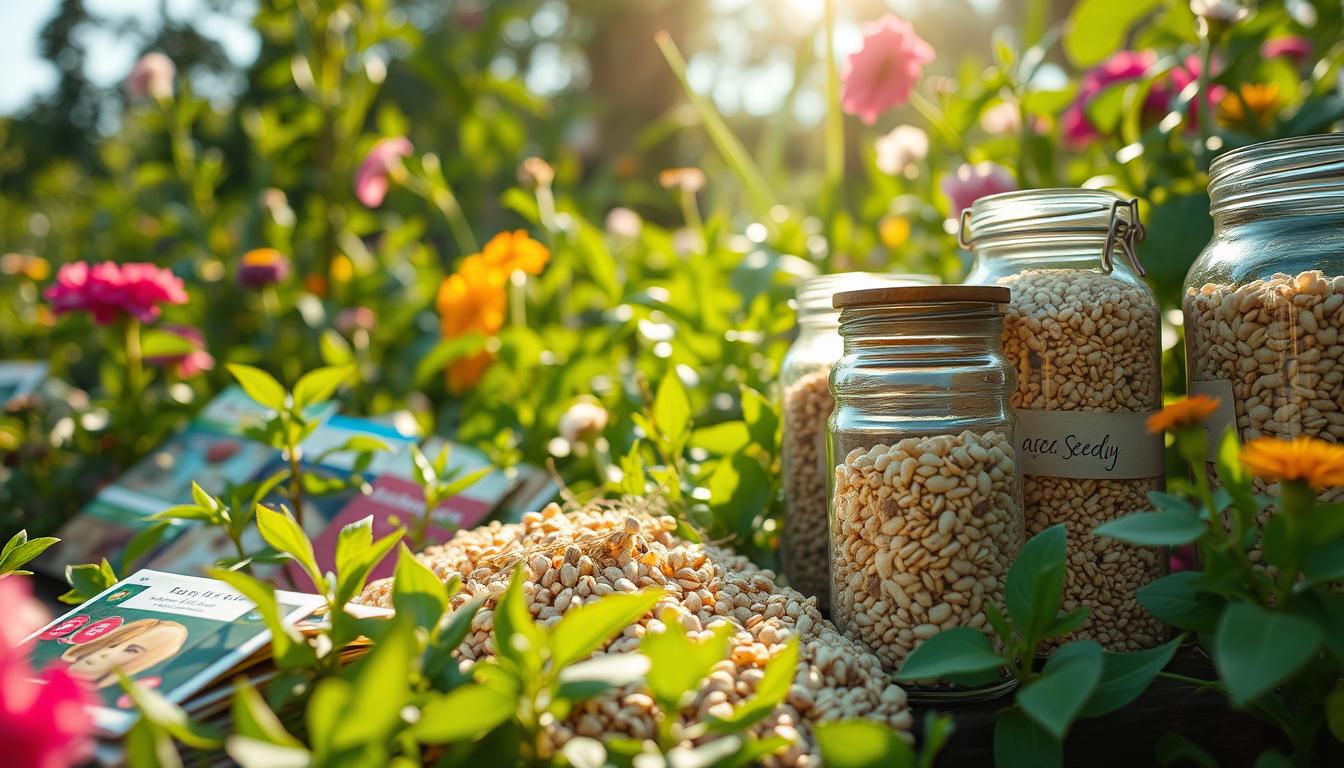
Drying and Storing Your Seeds
Proper drying and storage are key in seed saving basics. They affect how long your seeds will last. A cool, dry place with low humidity is best for drying seeds.
For storing seeds, use airtight containers. This keeps the environment consistent. Here are some tips for storing seeds:
- Use airtight containers, such as glass jars or plastic containers, to keep seeds dry and fresh.
- Store seeds in a cool, dry place, such as a basement or cupboard, with a consistent temperature between 40-50°F (4-10°C).
- Keep seeds away from direct sunlight and moisture, as these can cause seeds to degrade or become damaged.
By following these seed saving basics, you can keep your seeds viable longer. Proper drying and storage are crucial for seed quality. With these tips, you’ll become a successful seed saver.

Labeling Your Saved Seeds
As a beginner in seed saving, labeling your saved seeds is key. It helps keep things organized and makes it easy to find your seeds. In this guide, I’ll share tips on how to label your seeds well.
Labeling is a must for seed saving beginners. It helps keep your seeds fresh and healthy. You’ll need to include the seed type, date, and storage conditions.
Importance of Labeling
Labeling lets you track the different seeds you’ve saved. This is important for planning your garden. It ensures you use the right seeds for your projects.
Tips for Effective Labeling
Here are some tips for effective labeling:
- Use a permanent marker to write on the label
- Include the seed type, date, and storage conditions
- Use a consistent labeling system to avoid confusion
By following these tips, you can label and store your seeds well. This makes planning and executing your gardening projects easier.
Troubleshooting Common Seed Saving Issues
As I continue on my seed saving journey, I’ve faced some common issues. These can be frustrating for gardeners. Learning how to save seeds and following tips can help solve these problems. One big issue is low germination rates, often caused by bad drying or storage.
To fix this, understanding proper seed drying and storage is key. Here are some tips to boost germination rates:
- Check the moisture levels of your seeds before storing them
- Store seeds in a cool, dry place to maintain their viability
- Use airtight containers to prevent moisture from entering the storage container
Another issue is seed pests and diseases. These can be managed by regularly checking your seeds and using organic pest control. By following these tips, you can overcome common seed saving issues and enjoy a successful harvest.
For more information on seed saving, consider talking to local gardening experts or checking online resources. Always follow proper seed saving techniques to keep your seeds healthy and viable.
Getting Started with My Seed Saving Journey
Now that you know aboutseed saving techniquesand why it’s important, it’s time to start your own journey. I’m excited to share my favoriteeasy seed saving methodsandseed saving basicsthat have helped me.
The Seed Savers Exchange is a great resource. It’s a non-profit that helps save heirloom seeds. Their website has lots of guides and a big seed library. I also recommend “Seed to Seed” by Suzanne Ashworth. It’s a key book for me.
Joining a local seed saving group is also rewarding. These groups have seed swaps, workshops, and field trips. They connect you with other gardeners who love saving seeds. It’s a chance to learn and make friends.
When you start yourseed saving journey, begin with what you love. Start small and be patient. You’ll soon have a garden that grows food for you. Happy seed saving!