I was amazed by how much kitchen waste I made every day. It made me think about how to help the environment. That’s when I found out about composting food scraps.
Composting is a big deal. It’s not just about less trash; it’s about making great soil for gardens. I learned it’s easy and very beneficial.
In this guide, I’ll share my composting journey. We’ll cover the basics and how to fix common problems. Let’s make our kitchens greener, one scrap at a time.
Understanding the Basics of Composting Food Scraps
I’m excited to share the basics of composting with you. This eco-friendly practice is a game-changer for reducing food waste and sustainable gardening. Let’s explore what composting is, its benefits, and the science behind it.
What is composting?
Composting is a natural process that turns organic waste into nutrient-rich soil. It’s a top eco-friendly composting method. By recycling kitchen scraps and yard waste, we create valuable soil for our gardens and reduce landfill waste.
Benefits of composting kitchen waste
The advantages of composting are many:
- Reduces household waste by up to 30%
- Creates free, nutrient-rich soil for gardening
- Improves soil structure and water retention
- Decreases the need for chemical fertilizers
- Lowers carbon footprint by reducing methane emissions from landfills
These benefits make composting key to sustainable gardening practices.
The science behind food scrap decomposition
The decomposition process is fascinating. Microorganisms break down organic matter into simpler compounds. This process needs a balance of carbon-rich “brown” materials (like dried leaves) and nitrogen-rich “green” materials (like food scraps).
With proper aeration and moisture, these microbes thrive. They turn waste into black gold for your garden.
By understanding these basics, you’re well on your way to mastering food waste reduction through composting. It’s a simple yet powerful way to contribute to a more sustainable future.
Getting Started with Your Composting Journey

I’m excited to share my experience with backyard composting techniques. When I first started, I felt overwhelmed by all the options. But trust me, it’s easier than you think! The key is to start small and choose a method that fits your lifestyle.
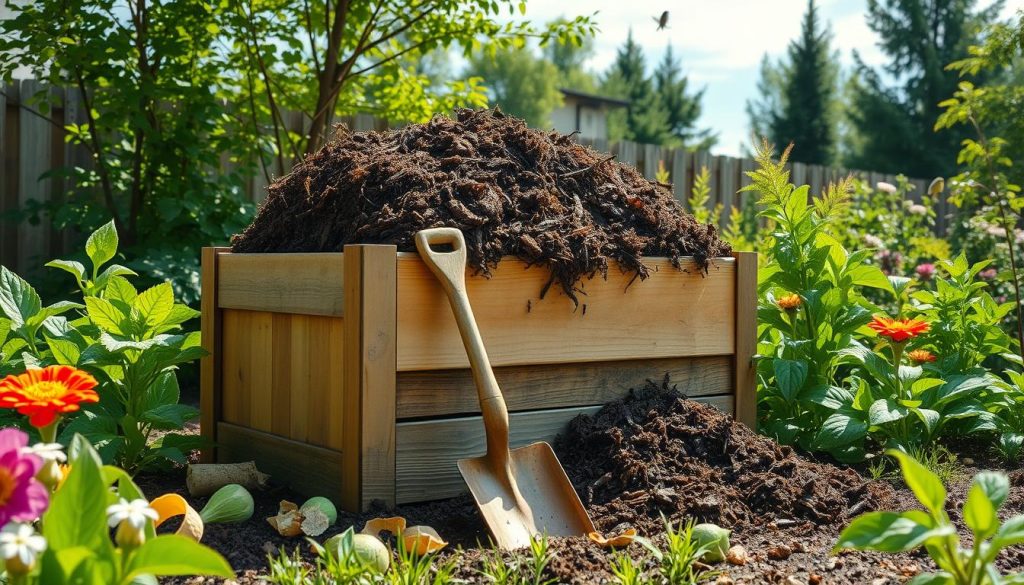
First, pick a spot in your yard that’s easily accessible. You’ll want to visit your compost pile regularly, so convenience is crucial. Next, decide on the type of composting system you want to use. There are many options, from simple piles to fancy composting bins and compost tumblers.
Here’s a quick comparison of popular composting methods:
| Method | Space Required | Maintenance | Composting Speed |
|---|---|---|---|
| Open Pile | Large | Low | Slow |
| Composting Bins | Medium | Medium | Moderate |
| Compost Tumblers | Small | High | Fast |
I started with a simple open pile, but later upgraded to a compost tumbler. It speeds up the process and keeps critters out. Whatever method you choose, remember to gather both ‘green’ materials (like food scraps) and ‘brown’ materials (like dry leaves) to create a balanced mix.
Don’t forget to grab some basic tools: a pitchfork for turning the compost, gloves to keep your hands clean, and a container for collecting kitchen scraps. With these essentials, you’ll be well on your way to creating nutrient-rich compost for your garden!
Essential Tools and Equipment for Successful Composting
Starting your composting journey needs the right tools. I’ve looked into various options to help you pick the best setup. Let’s explore composting bins, tumblers, and DIY containers.
Choosing the Right Composting Bin
Composting bins come in many shapes and sizes. I like enclosed bins for city living. They keep pests out and odors in. Open bins are better for big yards, making it easy to turn the compost.
Compost Tumblers: Pros and Cons
Compost tumblers are popular for their ease. They speed up composting. They’re also good for small spaces. But, they can be expensive and hold less compost.
| Pros | Cons |
|---|---|
| Easy to turn | Higher cost |
| Faster composting | Limited capacity |
| Pest-resistant | Can be heavy when full |
DIY Composting Containers
DIY composting containers are budget-friendly. You can use old trash cans, wooden pallets, or wire mesh. These eco-friendly methods let you customize to your space and needs.
- Trash can composter: Drill holes for airflow
- Pallet bin: Stack pallets to form walls
- Wire mesh cylinder: Form a circle with wire mesh
The best composting setup depends on your space, lifestyle, and goals. Try different methods to find what works for you!
Composting Food Scraps: A Step-by-Step Guide

Composting food scraps is a simple way to reduce waste. It also creates nutrient-rich soil for your garden. Let me guide you through the process of managing kitchen scraps and recycling organic waste.
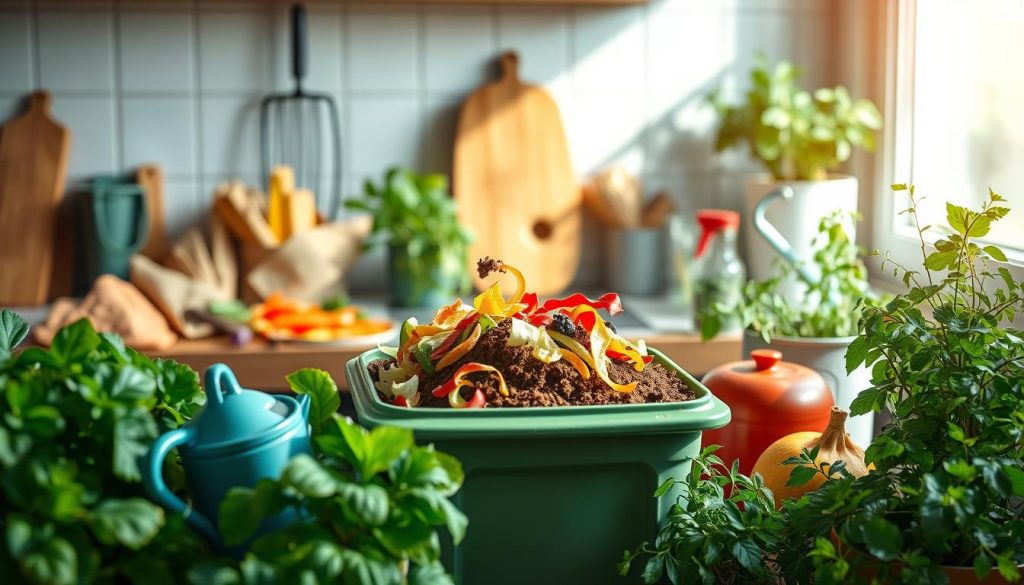
Start by collecting your kitchen waste in a countertop bin. Add fruit and vegetable peels, coffee grounds, and eggshells. But, avoid meat, dairy, and oily foods to prevent odors and pests.
Next, layer your compost bin. Begin with brown materials like dry leaves or shredded paper. Then, add your food scraps and cover with more browns. This balance helps control moisture and speeds up decomposition.
Turn your compost pile weekly to aerate it. This keeps the beneficial microbes happy and working hard. Add water if the pile seems dry, but don’t overdo it. Aim for the consistency of a wrung-out sponge.
In a few months, your compost will be ready. It should look like dark, crumbly soil and smell earthy. Use it to enrich your garden beds or potted plants.
- Collect kitchen scraps
- Layer in compost bin
- Turn weekly
- Monitor moisture
- Use finished compost
By following these steps, you’ll master the art of composting food scraps in no time. It’s a rewarding process that turns your kitchen waste into garden gold!
The Do’s and Don’ts of Kitchen Waste Recycling

Exploring food waste reduction and sustainable gardening, I’ve found that not all kitchen scraps are good for composting. Let’s look at the best ways to manage kitchen scraps for nutrient-rich compost.
Ideal food scraps for composting
Fruit and vegetable peels, coffee grounds, and eggshells are great for composting. They break down fast and give your garden the nutrients it needs. You can also add tea bags and paper towels to your compost pile.
Items to avoid in your compost pile
Some items can harm your compost or attract pests. Meat, dairy, and oily foods are a big no. They can make bad smells and attract pests. Also, avoid adding diseased plants or weeds with seeds to keep your garden healthy.
Balancing green and brown materials
For good composting, balance green and brown materials. Green materials like kitchen scraps add nitrogen, while brown materials like dry leaves add carbon. Aim for a 3:1 brown to green ratio. This mix speeds up decomposition and makes great compost for gardening.
| Green Materials (Nitrogen-rich) | Brown Materials (Carbon-rich) |
|---|---|
| Fruit and vegetable scraps | Dry leaves |
| Coffee grounds | Shredded paper |
| Grass clippings | Cardboard |
Accelerating the Decomposition Process
I’ve found some eco-friendly ways to make composting faster in my backyard. By adjusting a few things, I’ve made rich compost quicker than before.
First, I make sure my compost gets enough air. I turn it every week to let oxygen in. This helps the microbes work better. I use a pitchfork to mix it well, creating air pockets.
Keeping the compost moist is also key. I add water when it’s dry or cover it in the rain. This keeps the decomposers working well.
To really speed things up, I’ve started using activators. These natural helpers bring in good microbes that start breaking down the compost faster.
| Activator | Benefits | Application |
|---|---|---|
| Compost Starter | Introduces diverse microbes | Sprinkle over new materials |
| Coffee Grounds | Adds nitrogen, improves texture | Mix in small amounts regularly |
| Grass Clippings | Boosts heat, speeds decomposition | Layer with brown materials |
With these changes, my composting time has dropped from months to weeks. It’s incredible how small adjustments can make a big difference in making great soil for my garden.
Troubleshooting Common Composting Issues
Composting food scraps is a great way to practice sustainable gardening, but it’s not without challenges. I’ve faced a few hurdles in my backyard composting techniques, and I’m here to share some solutions.
Dealing with odors
Bad smells can be a real turnoff when composting food scraps. To combat this, I make sure to balance green materials (like kitchen waste) with brown materials (such as dry leaves). If odors persist, I add more browns and turn the pile to improve air circulation.
Managing pests and unwanted visitors
Rats, flies, and other pests can be attracted to compost piles. I keep them at bay by burying food scraps in the center of the pile and avoiding meat, dairy, and oily foods. A well-maintained compost bin with a tight-fitting lid also helps deter unwanted guests.
Addressing moisture imbalances
Too much or too little moisture can slow down the composting process. I aim for a consistency like a wrung-out sponge. If it’s too wet, I add dry brown materials. If it’s too dry, I sprinkle some water or add fresh green materials. Regular turning helps distribute moisture evenly.
By addressing these common issues, I’ve been able to maintain a healthy compost system that supports my sustainable gardening efforts. With these tips, you can troubleshoot your own composting challenges and enjoy the benefits of turning food scraps into nutrient-rich soil for your garden.
Vermicomposting: Harnessing the Power of Worms
I’ve found a cool way to compost called vermicomposting. It’s great for reducing food waste and making soil for your garden. Let’s explore how worms help in this process!
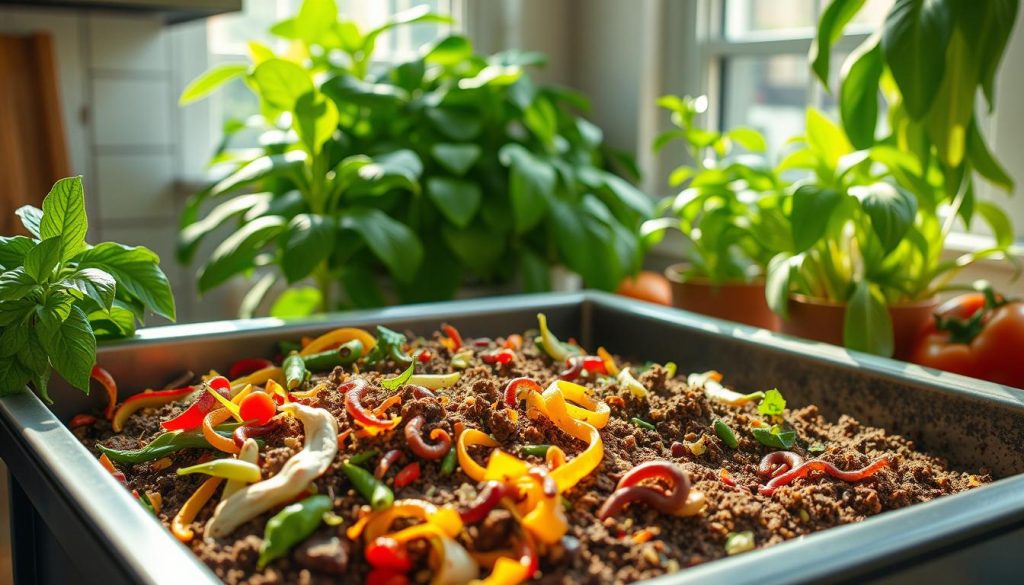
Vermicomposting uses worms to break down food waste. These worms eat kitchen scraps and turn them into compost. It’s easy and works well in small spaces like apartments.
To start, you need a worm bin, bedding, and red wiggler worms. These worms are experts at composting. They eat a lot of food waste every day!
Vermicomposting has many benefits. It helps reduce food waste and makes good compost for plants. It’s also fun and educational for everyone.
| Vermicomposting Benefits | Traditional Composting | Vermicomposting |
|---|---|---|
| Speed of Decomposition | 3-12 months | 2-3 months |
| Space Required | Large outdoor area | Small indoor or outdoor space |
| Odor | Can be strong | Minimal to none |
| Maintenance | Regular turning and monitoring | Low maintenance |
Vermicomposting is a big help in reducing food waste. By using it, you’re making your life more sustainable. Try it out and see your kitchen scraps become garden gold!
From Compost to Garden: Using Your Homemade Green Gold
After months of recycling organic waste, it’s time to enjoy the fruits of your labor. I’m thrilled to guide you on how to use your homemade compost in your garden. Let’s explore the best ways to apply this nutrient-rich “green gold” in your garden.
When is compost ready to use?
Your compost is ready when it’s dark, crumbly, and smells like earth. It should feel like rich soil. If you can still spot food scraps, it needs more time. Usually, compost takes 3-6 months to mature fully.
Applying compost to your garden
I enjoy using compost as a soil amendment. Mix it into your garden beds before planting or spread it as a 2-3 inch layer around plants. For potted plants, blend compost with potting soil for a nutrient boost. Remember, a little compost goes a long way in sustainable gardening.
Compost tea and other applications
Compost tea is a liquid fertilizer made by steeping compost in water. I use it to water plants or as a foliar spray. It’s a great way to give nutrients directly to plants. You can also use compost in seed starting mixes or as a lawn top dressing. The possibilities are endless with your homemade compost!

