Ready to make kitchen scraps and yard waste into garden gold? I’m here to show you the way. Whether you’re starting out or want to improve, this guide has you covered.
We’ll look at everything from easy backyard systems to more complex methods. You’ll learn how to turn waste into soil that makes plants grow strong!
Understanding the Basics of Composting
Composting is a natural way to turn organic waste into soil full of nutrients. I’m excited to share the basics of this eco-friendly practice with you. It involves breaking down organic materials by microorganisms, creating a dark, crumbly substance called compost.
The secret to good composting is mixing different materials. You need both “green” and “brown” materials. Green materials, like fresh grass clippings and fruit scraps, are high in nitrogen. Brown materials, such as dry leaves and straw, are high in carbon.
To compost well, keep a 3:1 ratio of brown to green materials. This mix helps microorganisms break down waste efficiently.
It’s important to keep the compost pile moist and aerated. It should be damp, like a wrung-out sponge. Turning the pile regularly adds oxygen, speeding up decomposition and preventing bad smells.
| Compost Element | Function | Examples |
|---|---|---|
| Green Materials | Provide nitrogen | Grass clippings, vegetable scraps |
| Brown Materials | Provide carbon | Dry leaves, straw, wood chips |
| Water | Maintains moisture | Rainwater, hose water |
| Oxygen | Supports aerobic decomposition | Introduced by turning the pile |
By learning these basics, you’re ready to make your own compost for your garden. Next, we’ll look at the many benefits compost brings to your plants and the environment.
The Benefits of Composting for Your Garden
Composting is a game-changer for your garden. It turns ordinary soil into a thriving ecosystem. Let’s explore the amazing benefits of this natural process.
Improved Soil Structure
Compost works wonders for soil improvement. It makes the soil loose and crumbly, perfect for root growth. This structure also helps keep moisture in, so you don’t need to water as often.
Enhanced Nutrient Content
Nutrient-rich compost is like a superfood for your plants. It slowly releases essential elements, feeding your garden over time. This natural fertilizer promotes healthier growth and increases crop yields.
| Nutrient | Role in Plant Growth | Found in Compost |
|---|---|---|
| Nitrogen | Leaf growth | Yes |
| Phosphorus | Root development | Yes |
| Potassium | Overall plant health | Yes |
Reduced Waste and Environmental Impact
Composting is a powerful tool for waste reduction. By turning kitchen scraps and yard waste into valuable compost, you’re keeping these materials out of landfills. This simple act helps reduce methane emissions and supports a more sustainable lifestyle.
I’ve found that composting not only benefits my garden but also gives me a sense of contributing to a healthier planet. It’s a win-win for both your plants and the environment!
Essential Materials for Successful Composting
Starting to compost requires the right tools and materials. Having everything you need makes the process easier and more fun. Let’s look at the key items for beginning your composting journey.
First, you’ll need a compost bin. You can buy one or make your own from wood or wire mesh. The size of your bin depends on how much compost you want to make. For small gardens, a small bin is fine. But for bigger yards, you might need a multi-bin system.
To manage your compost well, you’ll need some basic tools:
- Pitchfork or compost aerator for turning the pile
- Garden gloves to protect your hands
- Pruning shears for cutting large pieces of organic matter
- Thermometer to monitor the internal temperature of your pile
- Watering can or hose for maintaining moisture levels
Now, let’s talk about the compost materials you’ll use:
| Green Materials (Nitrogen-rich) | Brown Materials (Carbon-rich) |
|---|---|
| Fruit and vegetable scraps | Dry leaves |
| Coffee grounds | Straw or hay |
| Fresh grass clippings | Shredded paper |
| Plant trimmings | Wood chips |
It’s important to balance green and brown materials in your bin. With these basics, you’re ready to start composting. You’ll soon have nutrient-rich soil for your garden.
Aerobic Composting: Harnessing the Power of Oxygen
Aerobic composting turns organic waste into rich soil. It uses oxygen-loving microbes to break down waste fast and well.
How Aerobic Composting Works
In aerobic composting, microbes need oxygen to thrive. They eat organic matter and make heat. This heat makes decomposition faster, creating compost quicker.
Ideal Conditions for Aerobic Decomposition
To get the most out of aerobic composting, follow these tips:
- Oxygen levels: Regular compost aeration is crucial
- Moisture: Keep the pile damp, not soggy
- Temperature: Aim for 130-150°F (54-66°C)
- Carbon-to-nitrogen ratio: Balance “browns” and “greens”
Pros and Cons of Aerobic Composting
| Pros | Cons |
|---|---|
| Fast decomposition | Requires more maintenance |
| Reduced odors | Needs consistent aeration |
| Kills pathogens and weed seeds | Can be labor-intensive |
| Produces high-quality compost | Sensitive to environmental changes |
Aerobic composting is a fast, efficient way to recycle waste. By keeping conditions right and ensuring enough oxygen, you can make great compost for your garden quickly.
Anaerobic Digestion: Composting Without Air
Anaerobic digestion is a cool way to compost without using air. It breaks down organic stuff to make biogas and fertilizer.
This method uses sealed containers called digesters. Inside, special bacteria eat food scraps and plant waste. They turn it into useful stuff.
One great thing about anaerobic digestion is making biogas. This gas can power homes, make electricity, or fuel cars. It’s a way to use waste and make clean energy.
But, anaerobic digestion is harder for home gardeners. It needs the right temperature, pH, and moisture. It also takes longer than regular composting. Yet, it’s a big help for farms and big facilities.
Here’s a quick comparison of anaerobic digestion and aerobic composting:
| Feature | Anaerobic Digestion | Aerobic Composting |
|---|---|---|
| Oxygen Requirement | None | Needs oxygen |
| Speed | Slower | Faster |
| Biogas Production | Yes | No |
| Odor | Can be strong | Minimal if managed well |
| Scale | Large-scale operations | Suitable for home use |
Anaerobic digestion might not be for everyone. But it’s a powerful tool for composting. It helps us turn waste into useful things and supports a greener future.
Vermicomposting: Let Worms Do the Work

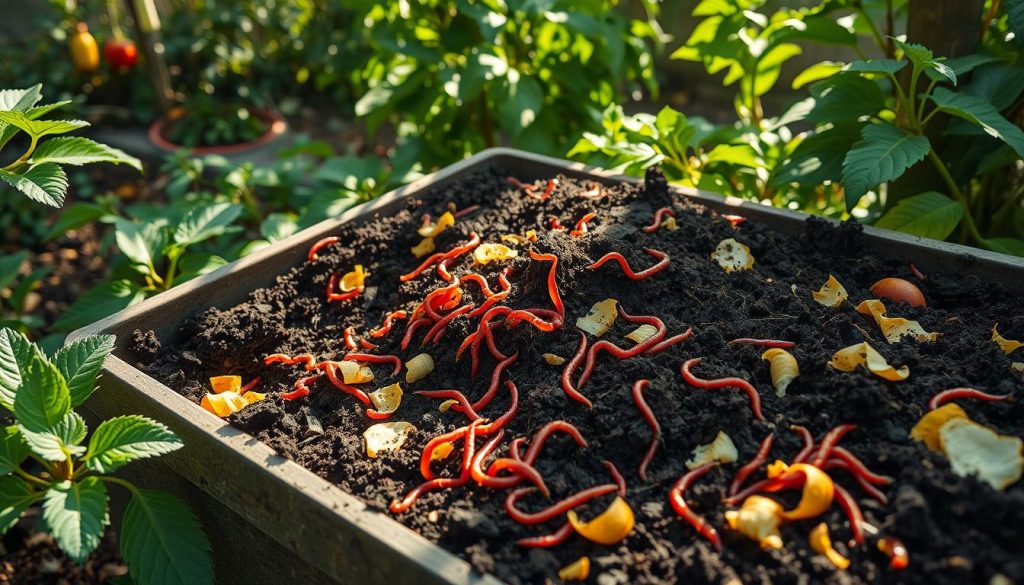
Vermicomposting is a cool way to make compost with worms. It turns organic waste into garden fertilizer. This method uses worms to break down waste.
Choosing the Right Worms
Red wiggler worms are the best for vermicomposting. They eat a lot of organic matter and live in small spaces. Unlike earthworms, they stay on the surface, which is great for worm bins.
Setting Up a Worm Bin
To start, you need a worm bin with good air and water flow. Use shredded newspaper or cardboard as bedding. Add red wiggler worms and kitchen scraps. Keep the bedding damp but not wet.
Maintaining Your Vermicompost System
Keeping your worm bin healthy is important. Feed your worms fruit, vegetable scraps, coffee grounds, and tea bags. But don’t give them meat, dairy, or oily foods. Check the moisture and temperature to keep your worms happy.
| Vermicomposting Do’s | Vermicomposting Don’ts |
|---|---|
| Feed fruit and vegetable scraps | Add meat or dairy products |
| Maintain moisture levels | Overwater the bin |
| Keep bin in a cool, dark place | Expose to direct sunlight |
| Harvest castings regularly | Disturb worms frequently |
With the right care, your worm bin will give you dark, nutrient-rich castings. These are great for your garden. Vermicomposting is a green way to recycle waste and make fertilizer for your plants.
Static Pile Composting: Simple and Effective
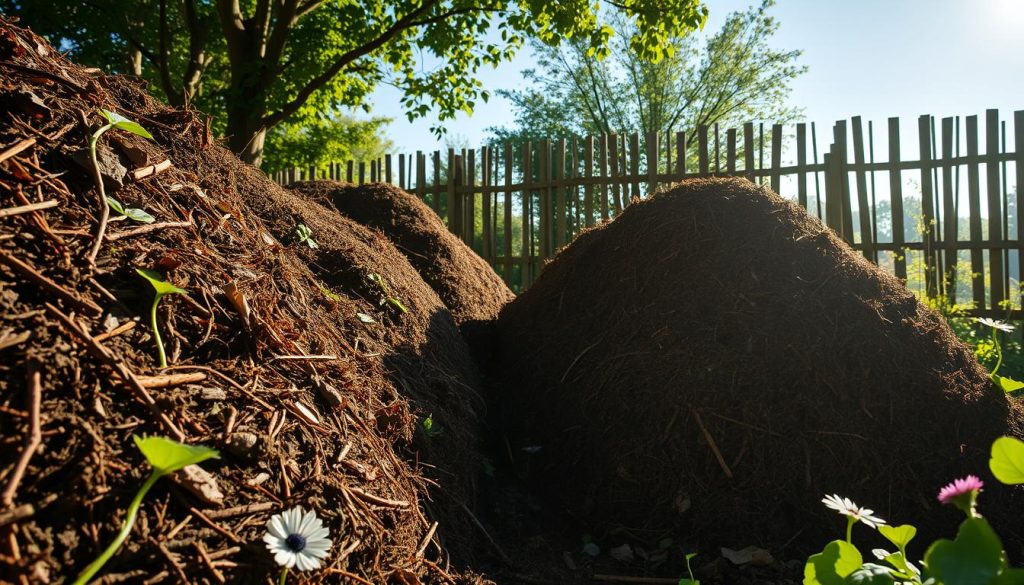
Static pile composting is a simple way to make nutrient-rich soil. It’s great for gardeners who want an easy method. I’ve found it to be both simple and effective for my gardening needs.
To start, I layer green and brown materials in a pile. Green materials are kitchen scraps and fresh grass clippings. Brown materials are dry leaves and small twigs. It’s important to balance these materials for proper decomposition.
This method is low-maintenance. Once set up, it needs little care. I add water now and then and turn it every few weeks. This lets nature do most of the work.
Static pile composting takes longer than some methods. It’s perfect for those with little time or physical issues. The process can take months to a year, depending on the materials and environment.
- Pros of static pile composting:
- Requires minimal effort
- Suitable for various organic materials
- Cost-effective solution
- Cons of static pile composting:
- Slower decomposition process
- May attract pests if not managed properly
- Less control over the composting process
Static pile composting is my favorite method for garden compost. Its simplicity and effectiveness make it great for all gardeners.
Windrow Composting: Scaling Up Your Efforts

Windrow composting is a big deal for big composting jobs. I’ve seen it turn lots of organic waste into great soil. Let’s explore how to use this powerful composting method.
Creating and Managing Windrows
To start, I make long, narrow piles of organic stuff. These piles are 4-8 feet high and 10-20 feet wide. They help air move around well. I mix green stuff like grass clippings with brown stuff like leaves for the right mix.
Turning Techniques for Optimal Results
Turning the compost is key. I use special tools to turn the piles every 1-2 weeks. This helps air get in, speeds up breaking down, and spreads moisture and heat evenly.
Monitoring Temperature and Moisture
I watch the temperature and moisture closely. The best temperature is 130-160°F, which I check with a thermometer. I want it damp, like a sponge. If it’s too dry, I add water. If it’s too wet, I turn it more to get air in.
Windrow composting has changed the game for big composting projects. With the right care, it can make top-notch compost in months. It’s perfect for farms, cities, and big gardens.
In-Vessel Composting: Controlled Environment Solutions
I’m excited to introduce you to in-vessel composting. It’s a new way to make compost. This method uses special systems to turn waste into soil that’s full of nutrients.
In-vessel composting happens in sealed containers. This creates a controlled space for waste to break down. It has many benefits over old composting methods:
- Faster decomposition rates
- Better odor control
- Reduced pest attraction
- Year-round operation, regardless of weather
Big composting facilities use large in-vessel systems. These can handle tons of waste every day. They’re great for big cities and large companies.
For those with less space, there are smaller in-vessel composters. They’re perfect for small gardens or easy composting at home. Some popular types include:
- Rotating barrel composters
- Kitchen countertop units
- Modular stacking systems
In-vessel composting is a clean and efficient way to recycle waste. It’s perfect for both big operations and small gardens. This method is a great choice for anyone looking to compost.
Hot Composting vs. Cold Composting: Which is Right for You?

Choosing the right composting method is key to gardening success. We’ll look at hot composting and cold composting. These methods use temperature to break down organic matter. Knowing which one is best for you is important.
The Science Behind Hot Composting
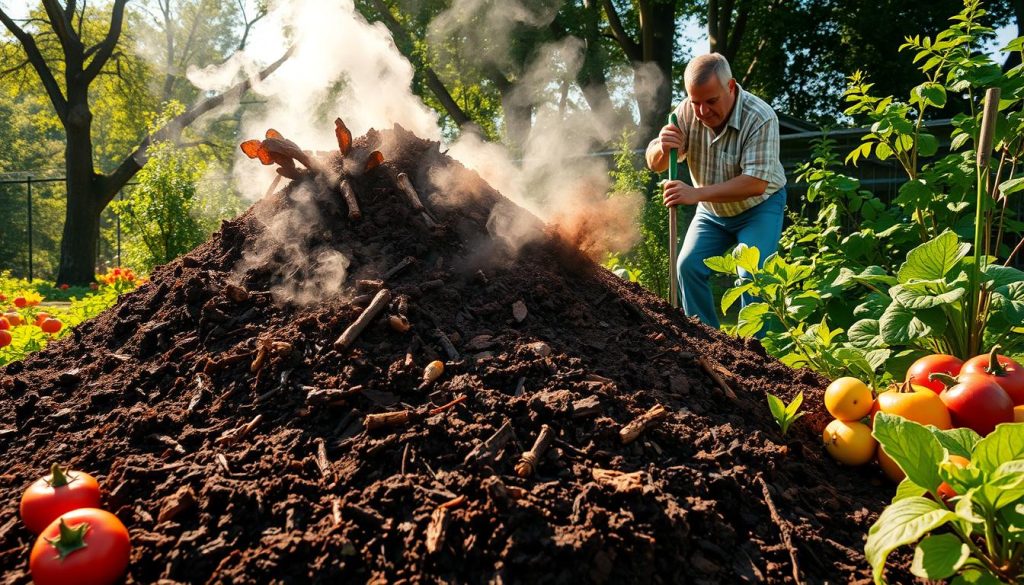
Hot composting uses heat-loving microorganisms to break down organic matter fast. These tiny workers can reach temperatures up to 160°F. This high heat kills weed seeds and pathogens quickly.
Advantages of Cold Composting
Cold composting is slower and easier. It doesn’t need constant turning or monitoring. It’s perfect for those with little time or physical challenges. Though it takes longer, it still makes nutrient-rich soil for your garden.
Choosing Based on Your Needs
Deciding between hot and cold composting depends on your goals and resources. Here’s a quick comparison to help you decide:
| Factor | Hot Composting | Cold Composting |
|---|---|---|
| Speed | Fast (2-3 months) | Slow (6-12 months) |
| Effort Required | High (frequent turning) | Low (minimal maintenance) |
| Weed Seed Destruction | Yes | No |
| Space Needed | Large pile (3x3x3 feet) | Any size works |
| Best For | Large gardens, farms | Small gardens, busy gardeners |
Think about your garden size, available time, and composting goals. Both hot and cold composting can work well. Choose the one that fits your lifestyle best.
Composting Methods for Urban Gardeners
Living in a city doesn’t mean you can’t enjoy composting. You can compost even in the smallest spaces. I’ve found ways to turn kitchen scraps into rich soil for my plants, right on my balcony.
For apartment dwellers, small-space composting is ideal. I love using a compact tumbling composter. It’s easy to use and keeps odors in check. If you have even less room, a countertop compost bin is great. These bins collect scraps without any smells.
Balcony composting is also a good choice for city folks. I use a worm bin on my small outdoor space. The worms break down my food waste quickly, giving me nutrient-rich compost for my container garden. It’s amazing how much these little creatures can process in such a small area.
Urban gardeners can also try bokashi composting. This method uses special microbes to ferment kitchen waste. It’s fast, odorless, and perfect for small spaces. With these urban composting techniques, anyone can create rich soil for their plants, no matter where they live.

