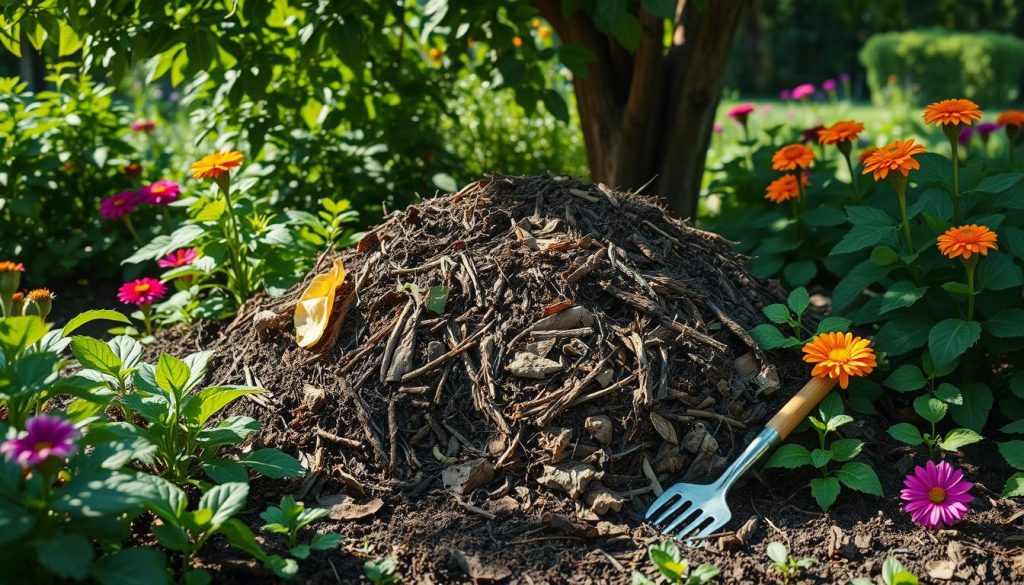
I’m excited to share my journey of starting a DIY compost at home. It’s been a great way to reduce food waste and make nutrient-rich soil for my garden. Composting at home is a great way to help the environment, and this guide will help you start right away.
Starting my composting journey showed me how important it is to compost at home. It’s a simple way to turn food scraps into something valuable for your garden. This article will guide you on how to start composting at home. You’ll learn about the benefits, what materials you need, and tips for success.
Composting is great for any garden size. It’s a simple way to improve your soil and grow healthy plants. With this guide, you’ll learn to make your own DIY compost. It’s easy to start composting at home and make your garden more sustainable.
What is Composting?
Composting is a natural way to break down organic materials like food scraps and yard waste. It turns them into a nutrient-rich soil amendment. By composting kitchen scraps, we can cut down on landfill waste and make our gardens healthier. Easy composting tips can help us start, and knowing the basics is key to a successful compost pile.
To start, we need to know what can be composted. These include:
- Fruit and vegetable peels
- Tea bags and coffee grounds
- Eggshells and bread
- Yard trimmings and leaves
Following easy composting tips lets us make a nutrient-rich soil amendment. This amendment helps our plants grow well. Composting also helps us reduce waste, create a natural fertilizer, and improve soil structure.
Understanding the Basics
Composting is a simple process that needs patience and dedication. Knowing the basics helps us create a successful compost pile. This pile will be a valuable resource for our gardens.
Benefits of Composting
Composting has many benefits. By doing it daily, we can make a big difference for the environment. It reduces waste and creates a natural fertilizer. This helps us reduce our carbon footprint and work towards a sustainable future.
Why I Decided to Start Composting
I started composting to lessen my environmental footprint and make my garden greener. By composting, I turn food waste and yard clippings into a natural plant food. It’s been a big change for my garden, and I’m eager to share my story.
Composting brings many benefits, like cutting down on waste and making my soil better. Here are some good changes I’ve seen:
- Soil gets more fertile and plants grow better
- I need less chemical fertilizers
- Less waste ends up in landfills
As I keep learning about composting, I see how important it is to keep the compost mix right. It’s about mixing the right amounts of green and brown stuff, like food and leaves. With these simple steps, anyone can start composting and see its benefits.

Reducing Waste
I composted to cut down on waste going to landfills. By composting food and yard waste, I turn trash into something good for my garden.
Enhancing My Garden
Composting has also made my garden better. It improves soil, boosts plant growth, and cuts down on chemical use. Using compost as fertilizer makes my garden healthier and more self-sufficient.
Materials Needed for Composting
To start composting, you need the right stuff. As a beginner, I’ve found that mixing green and brown materials is key. Green stuff like food scraps and grass clippings add nitrogen. Brown stuff, like leaves and twigs, adds carbon.
For composting basics, it’s important to balance these materials. Aim for 2/3 brown materials and 1/3 green materials. This mix helps decomposition happen well. Green materials include fruit and veggie scraps, tea bags, and coffee grounds. Brown materials are dried leaves, shredded newspaper, or cardboard.
Green Materials
- Fruit and vegetable scraps
- Grass clippings
- Tea bags
- Coffee grounds
Brown Materials
- Dried leaves
- Shredded newspaper
- Cardboard
- Twig and branch trimmings
Tools and Equipment
You also need the right tools for composting. A compost bin, shovel, and pitchfork are must-haves. They help you turn and keep the compost pile in check. By following these tips and using the right stuff, you’ll make a great compost pile and cut down on waste.
How to Set Up My Compost Bin
Starting your composting journey at home is exciting. The first step is setting up a compost bin. Choose a spot that’s easy to get to and has good air flow. This makes adding materials and keeping the pile in check easier.
Look for a spot that’s not too sunny and doesn’t get too much rain. This keeps the temperature and moisture just right for composting.
Choosing the Right Location
When picking a spot, think about how close it is to water, how easy it is to get to, and if it has good air flow. Good air flow helps things break down faster and keeps smells down.
Selecting the Bin Type
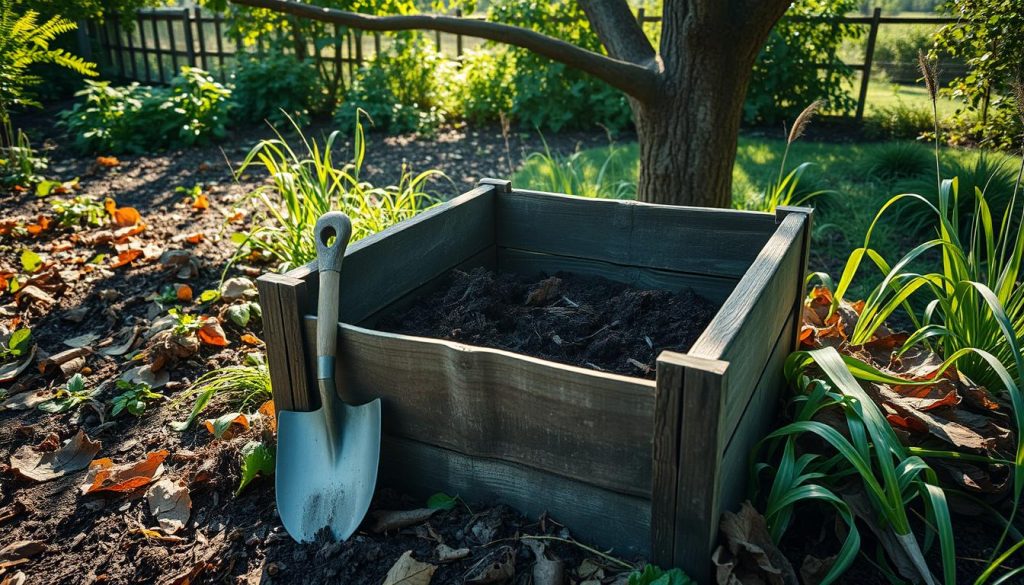
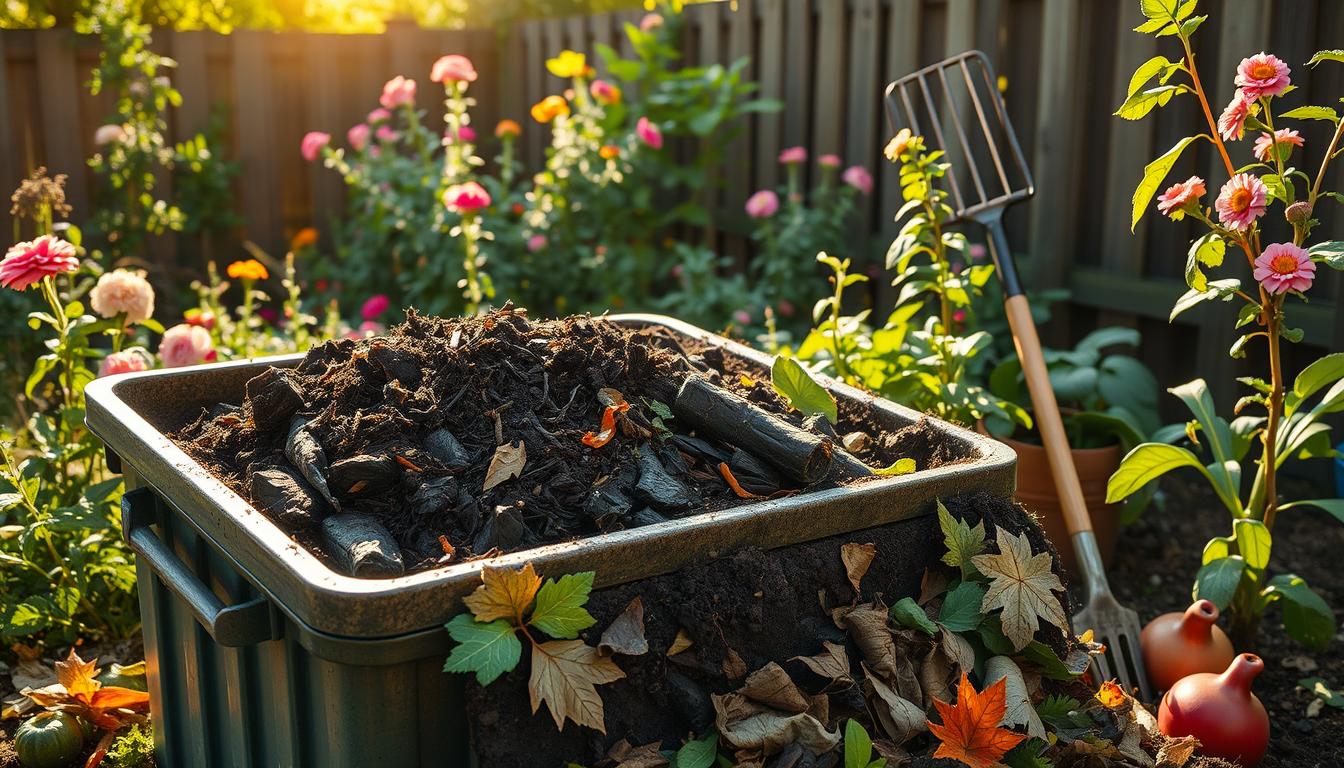
There are many types of compost bins, like plastic and wooden ones. Think about your yard size, how much waste you have, and what you like. Wooden bins look nice, but plastic ones last longer.

Preparing the Site
Before setting up your bin, clear the area and make the ground even. This makes your bin stable. Also, add something like straw or shredded newspaper to help with water and air.
By following these steps, you’re ready to start composting. Keep your pile maintained and watch it grow. This will help you get the best results from your composting at home.
Building My Compost Pile
I’m excited to start building my compost pile. I’ve learned some easy tips for composting. Making compost from kitchen scraps helps reduce waste and makes soil better for my garden. I’ll start with brown materials like dried leaves or shredded newspaper.
These materials add carbon and balance out the green stuff. Next, I’ll add green materials like fruit and vegetable peels. They add nitrogen and speed up decomposition. It’s key to keep the right mix to avoid bad smells.
Layering Techniques
There are many ways to layer a compost pile. I might try the “lasagna” method or the “pile” method. I’ll see which one works best for me.
Maintaining the Right Balance
I aim for 2/3 brown materials and 1/3 green materials. I’ll also add water to keep it moist but not too wet. Following these tips, I’ll make a compost pile that will help my garden grow.
Tips for Successful Composting
Starting a compost pile is a journey. I’ve learned that keeping an eye on it and maintaining it is key. For beginners, getting the basics right is crucial. One important thing is to watch the moisture levels.
A compost pile that’s too dry or too wet can cause problems. It can lead to slow decomposition and bad smells. To get it just right, I check the moisture often.
If it’s too dry, I add water. If it’s too wet, I add more brown materials like leaves or straw. Finding the right balance is essential for composting success.
Monitoring Moisture Levels
Here are some tips to help you monitor moisture levels:
- Check the pile regularly to ensure it’s not too dry or too wet
- Add water or brown materials as needed to maintain the perfect balance
- Aim for a moisture level that’s similar to a damp sponge
Turning the Pile
Turning the pile is another key step. It helps to aerate the materials and speed up decomposition. I turn the pile every week or two, depending on its size and the materials.
This process is vital for beginners. It helps create a rich, nutrient-dense compost. This compost is perfect for gardening.

Troubleshooting Common Compost Issues
As I delve into composting basics, I’ve hit some common snags. One big issue is when the compost pile smells bad. To fix this, it’s key to keep the right mix of green and brown materials. Make sure the pile isn’t too wet or too dry.
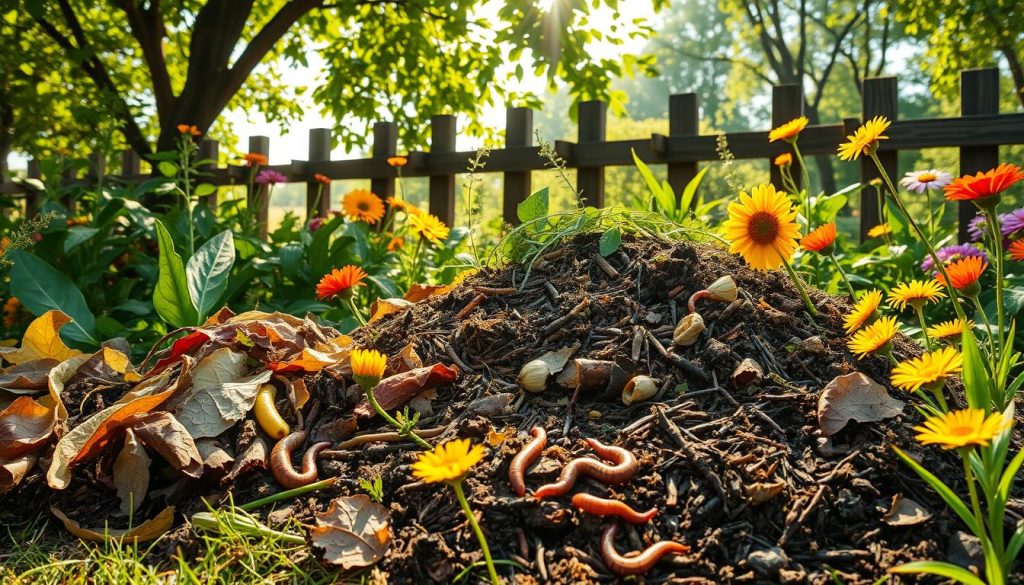
Another problem is pests in the compost pile. It’s important to check the pile often and act if pests show up. Pests like rodents, flies, and worms can be a problem. But, with the right steps, you can keep them away and have a healthy compost pile.
Dealing with Odors
- Check the moisture levels: Ensure the pile isn’t too wet or too dry
- Maintain the right balance: Balance green and brown materials to minimize odors
- Turn the pile: Regularly turn the pile to aerate it and reduce odors
Identifying Pests
Keeping an eye on your compost pile is crucial to spot pests. Watch for signs of rodents, flies, and worms. If you see them, take action. By following these tips, you can keep your compost pile healthy and beneficial for your garden and the environment.
Using Finished Compost in My Garden
After months of hard work, I’m excited to use my
DIY compost for beginners
. But how do I know it’s ready for my garden?
Signs of Mature Compost
My compost is mature when it’s dark, crumbly, and smells earthy. If I can’t spot the original materials, it’s ready. This means the composting is done.
Application Techniques
To make the most of my
composting at home
, I’ll add it to my garden beds and plant bases. I can mix it into the soil or use it as mulch. A 2-4 inch layer will feed my plants and make my garden healthier.

