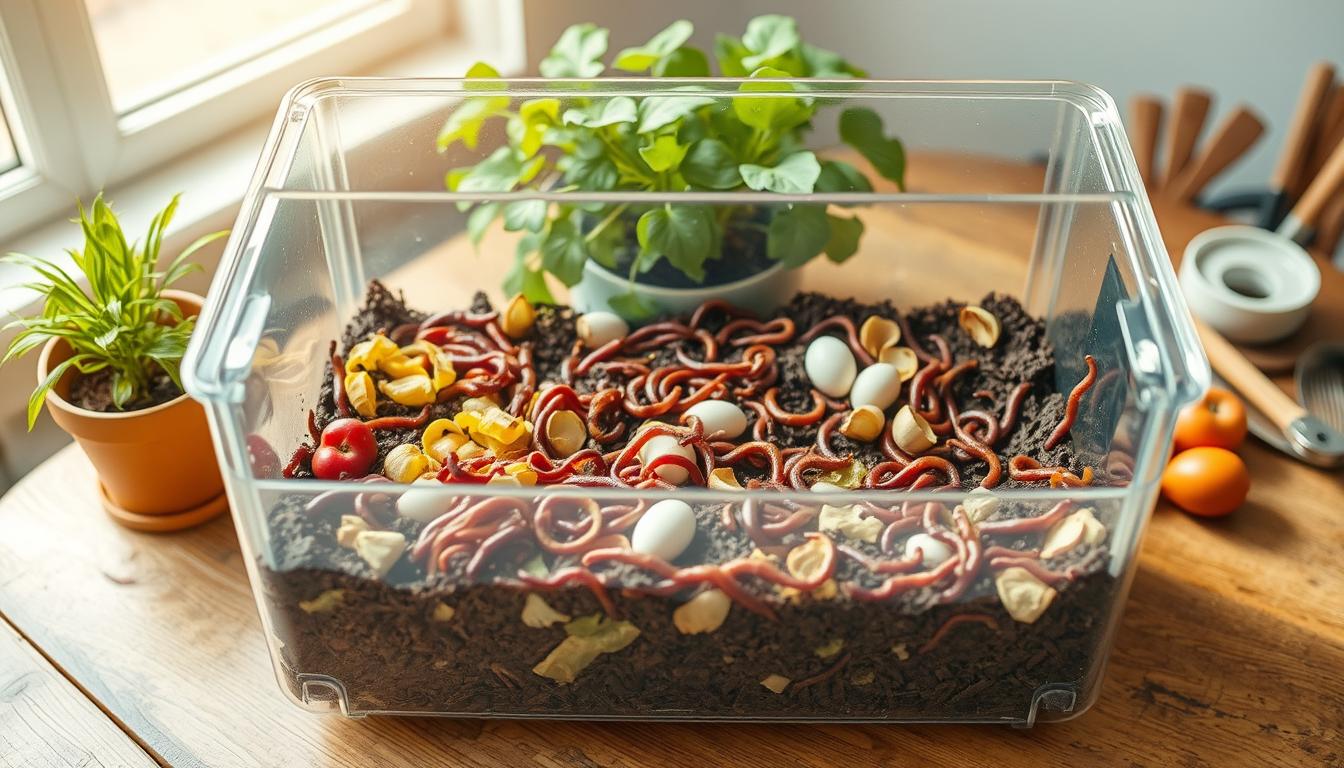
Ever thought about what happens to banana peels and coffee grounds? In my home, they don’t go to waste. Instead, they become nutrient-rich soil that boosts my garden’s health. This magic is called vermicomposting, and it’s a game-changer for me.
Earthworms are the heroes behind this change. These tiny creatures can eat half their body weight in waste every day. They turn trash into treasure for gardeners. My tomatoes grew 30% bigger after using this natural fertilizer!
Worm composting is also eco-friendly. The average American family throws away 4.5 pounds of kitchen waste each day. By composting some of it, we cut down on methane and create something valuable.
In this article, I’ll share my five-year experience with worm bins. I’ll cover setting them up, keeping them running, and using the compost. No matter your living space, you can turn kitchen waste into garden gold.
The Remarkable Transformation of Kitchen Scraps
Vermicomposting turns yesterday’s dinner scraps into tomorrow’s garden gold. It uses worms to make a soil amendment that’s better than any commercial product. Unlike regular composting, vermiculture uses worms to speed up the breakdown process.
When I started managing organic waste, I doubted worms could handle our kitchen scraps. But in weeks, banana peels, coffee grounds, and vegetable trimmings turned into rich, earthy-smelling material.
Why Worms Outperform Traditional Composting Methods
Traditional composting bins take 6-12 months to produce compost. But a worm bin can do the same in 2-3 months. This is because worms move through the material, creating aeration channels without needing manual turning.
The worm’s gut is where the magic happens. It mixes organic matter with microbes and enzymes. This breaks down complex compounds into nutrients that plants can use. My garden tests showed plants grown in vermicompost grew better and had fewer pests.
Vermiculture is great for small spaces. My friends with apartments have worm bins under their sinks. It’s a sustainable way to manage organic waste, even without a backyard. When done right, it doesn’t smell much, making it perfect for indoors.
The Fascinating Digestive Power of Earthworms
Earthworms are nature’s recycling machines. They have a gizzard that grinds food particles with tiny stones. This mechanical breakdown, along with enzymes and gut bacteria, makes decomposition efficient.
As food goes through the worm’s gut, it undergoes chemical changes. The worm neutralizes acidic foods, balancing pH levels. It also introduces beneficial microorganisms that keep working in your garden.
Worm castings are special because of their microbial diversity. A gram of vermicompost has billions of beneficial bacteria and fungi. These microorganisms help plants absorb nutrients better and fight diseases. I’ve seen seedlings started in vermicompost soil grow stronger and more resilient.
The earthworm’s ability to concentrate nutrients is impressive. Castings have more nitrogen, phosphorus, and potassium than regular soil. This is why even a little vermicompost can greatly improve plant health and productivity.
Why I Believe Every American Gardener Needs a Worm Bin
My garden changed a lot with vermicomposting. I now think it’s a must-have for every gardener in America. At first, I doubted if worms could really help. But seeing the results, I’m now a big supporter of this green method.
Food waste is a big issue in America. The EPA says food scraps are about 22% of all trash. This means millions of tons of organic waste go to landfills each year, creating harmful methane instead of helping our gardens.
Vermicomposting is a simple way to help our planet and plants. It turns kitchen waste into a valuable resource for gardening. It needs little space, doesn’t smell bad, and gives better results than store-bought products.
Reducing Landfill Waste One Apple Core at a Time
The average American family throws away about 4.5 pounds of food waste each week. That’s over 230 pounds a year that could feed your garden instead of landfills! Our family of three saves nearly 300 pounds of kitchen scraps yearly with our worm bin.
This saves a lot of space in landfills. Food waste in landfills makes methane, a gas 25 times worse than carbon dioxide. Vermicomposting, on the other hand, makes little methane and gives us valuable fertilizer.
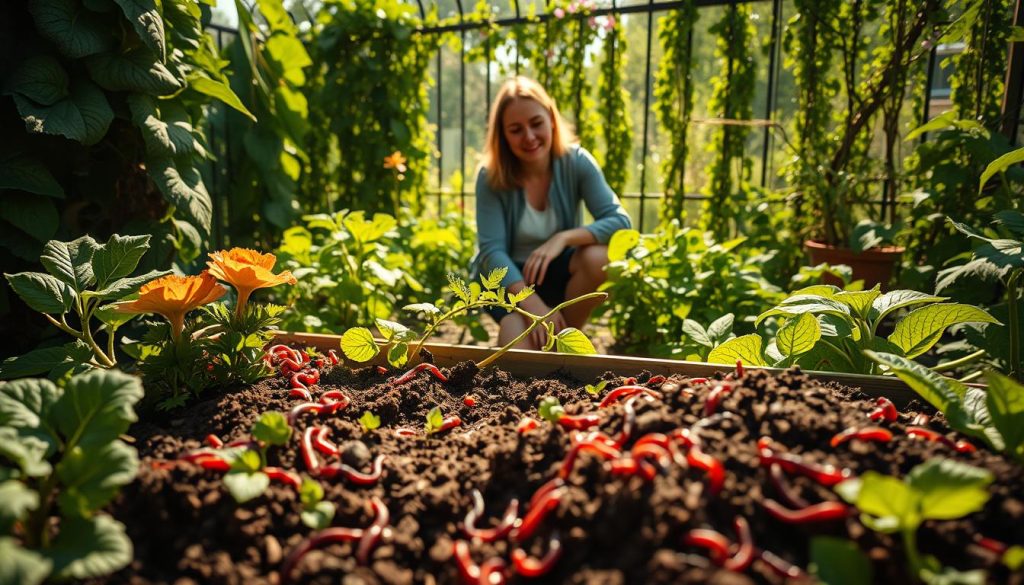
It’s not just about reducing waste. Making fertilizer at home also cuts down on the carbon footprint of commercial products. It’s a small step toward a greener life that gardeners can easily take.
The Superior Quality of Worm Castings vs. Store-Bought Fertilizers
Worm castings are not just a green alternative to store-bought fertilizers. They’re actually better. Cornell University found worm castings have up to 5 times more nitrogen, 7 times more phosphorus, and 11 times more potassium than regular soil.
Unlike synthetic fertilizers, worm castings don’t harm plants or pollute water. They slowly release nutrients when plants need them. They also have good bacteria that:
- Keep harmful soil pathogens away
- Make soil better at holding water
- Help seeds grow faster
- Make plants stronger against diseases
Most impressively, plants grown with worm castings have stronger immune systems. This means fewer pests and less need for chemicals, good for your garden and the planet.
My Garden’s Transformation After One Year of Vermicompost
My garden shows the benefits of vermicompost. After one season, my tomatoes grew 35% more. They were tastier and less prone to diseases.
My leafy greens grew faster and lasted longer. Even my picky blueberry bushes thrived with worm castings.
The soil got darker, richer, and more crumbly. More earthworms and beneficial insects appeared, making a better ecosystem. This living soil is key to sustainable gardening, all thanks to a simple worm bin.
Setting Up Your First Vermicomposting System
Turning kitchen waste into earthworm humus starts with a good home for worms. I learned a lot from my five years of worm composting. You can avoid my mistakes by knowing the basics.
Whether you have little space or a big area, there’s a worm composting solution for you. Let’s look at the options and what you need to start.
DIY vs. Commercial Worm Bins: My Honest Assessment
When I started, I wondered if to build or buy a worm bin. I tried both and have some advice. DIY bins, made from plastic containers, cost $15-30. They’re great for saving money and can be customized.
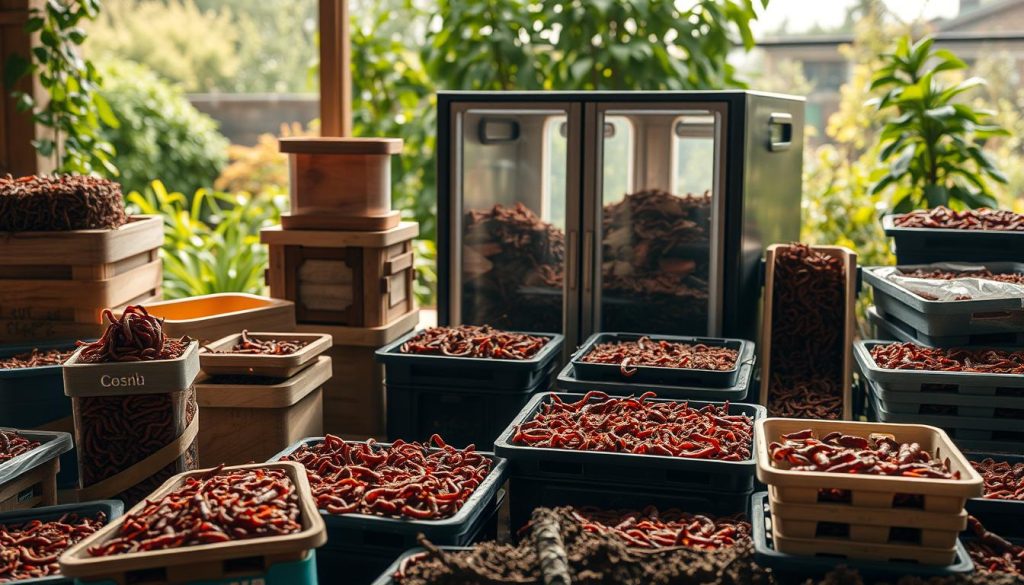
Commercial bins offer ease and efficiency. Stacking tray systems ($80-150) make it easy to get compost. Continuous flow-through bins ($200+) are my top choice for serious composters.
Beginners should start with DIY to learn the ropes. If you enjoy it, a commercial system makes things easier. Both ways produce great compost, but differ in convenience and size.
Essential Materials for Success
Several key materials are crucial for a thriving worm composting system. You’ll need bedding like shredded newspaper, cardboard, and coconut coir. It keeps moisture right and provides carbon.
A spray bottle helps keep the right moisture. A small fork or trowel makes handling and harvesting easier. Use a breathable cover to keep fruit flies away. A tray for worm tea captures liquid fertilizer.
Red Wigglers vs. European Nightcrawlers: Choosing Your Worm Workforce
Not all worms are good for vermicomposting. Red Wigglers are best for beginners. They process food fast, reproduce quickly, and like shallow conditions.
European Nightcrawlers are larger and handle more material. They prefer cooler temperatures and are better for outdoor bins. They produce bigger castings but reproduce slower.
For most, Red Wigglers are the best choice. If you have lots of waste or want bait, Nightcrawlers might be better. A pound of Red Wigglers can handle 3-4 pounds of waste weekly.
Feeding Your Worm Army: What Works and What Doesn’t
Harvesting nutrient-rich soil from your worm bin starts with proper worm nutrition. After three years, I’ve found that worms prefer certain foods. This affects their health and the quality of the soil they produce.
Feeding your worms right turns kitchen waste into valuable garden soil. It also avoids common problems that stop beginners.
Kitchen Scraps That Create Premium Castings
Not all kitchen waste is good for worm castings. I’ve found some scraps make the best soil for my garden. These scraps break down fast and give worms a balanced diet.
Vegetable Preparation Waste
Vegetable trimmings are key for my worms. Carrot tops, potato peels, and broccoli stems are great when chopped small. Freezing these scraps before adding them helps worms break them down faster.
Coffee Grounds and Tea Bags
Coffee grounds boost worm activity. They’re rich in nitrogen and slightly acidic. I add used grounds and tea bags weekly to keep the bin balanced.
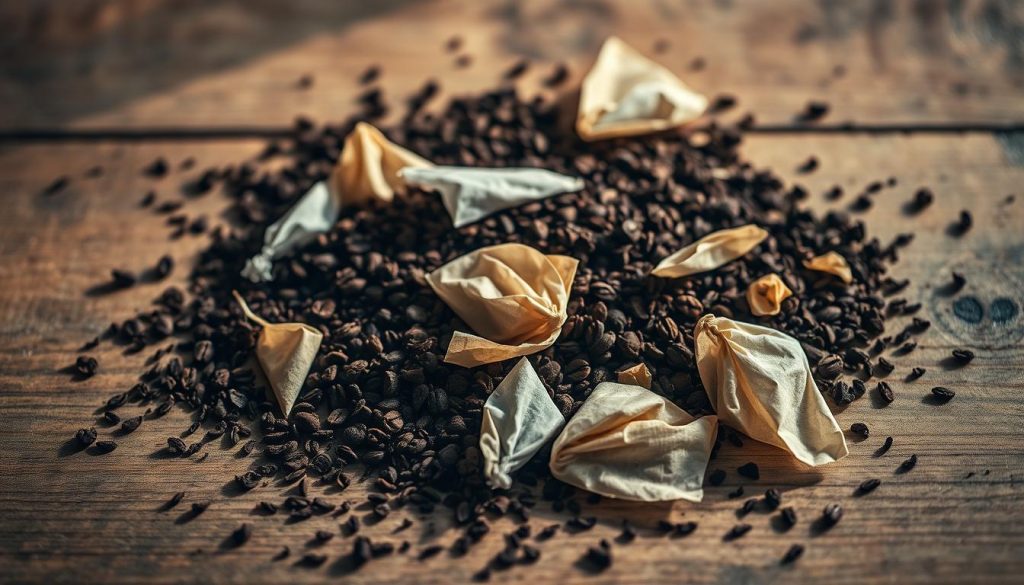
Fruit waste adds sugars and moisture for worms. Apple cores, banana peels, and melon rinds are favorites. I bury these under bedding to stop fruit flies.
Crush or chop tough items like avocado pits before adding them. This helps them break down faster. But remember, too much fruit can make the bin too wet.
Foods That Will Sabotage Your Worm Bin
Knowing what not to feed your worms is just as important. Some foods can make your bin smell bad, attract pests, or harm worms. I’ve learned the hard way which foods to avoid.
Dairy, Meat, and Oily Foods
Adding animal products or fatty foods can ruin your bin. I learned this the hard way with leftover chicken and cheese rinds. They create bad smells and attract pests.
Oils and fats can harm worms by coating their skin. They also break down slowly, causing problems with moisture in your bin. I stick to plant-based foods for my worms.
Citrus and Acidic Foods
While a little citrus is okay, too much can harm worms. The oils in citrus peels can repel worms. I learned this when I added too many grapefruit peels.
Processed and Salty Foods
Processed foods and salty items can mess with your bin’s moisture. Salt can dehydrate worms. I avoid adding bread, pasta, and processed snacks to my bins. They also mold quickly.
| Food Category | Worm Acceptance | Processing Tips | Benefits to Castings |
|---|---|---|---|
| Vegetable Scraps | Excellent | Chop finely, freeze first | Balanced nutrients, fast breakdown |
| Coffee/Tea Waste | Excellent | Add directly, remove staples | Nitrogen boost, pH balance |
| Fruit Waste | Good | Bury under bedding | Sugar energy, moisture control |
| Dairy/Meat | Avoid | N/A | None – creates problems |
| Citrus/Acidic | Limited | Small amounts only | Minimal – potential harm |
Vermicomposting: A Year-Round Practice
Keeping vermicompost production steady all year requires adjusting to each season’s challenges. Unlike garden composting, which may slow down in harsh weather, vermicomposting can thrive with the right care. I’ve learned to change my feeding and bin care based on temperature changes.
Temperature greatly affects worm behavior. Red wigglers work best between 55-77°F (13-25°C), with peak activity at 70°F (21°C). Outside this range, they slow down or get stressed, affecting efficiency. Adapting to these changes is crucial for year-round sustainable agriculture.
Summer Management: Keeping Worms Cool and Productive
Summer heat is a big challenge for outdoor vermicomposting. When it gets over 80°F (27°C), worms can get slow or even die. I’ve found ways to keep my worms happy and productive during hot months:
- Freezing food scraps before adding them to the bin (provides cooling and breaks down cell walls)
- Moving bins to shaded locations away from direct sunlight
- Adding extra bedding material to insulate against heat
- Misting the bin with cool water during extreme heat waves
- Feeding smaller amounts more frequently to prevent heat-generating decomposition
Winter Strategies: Protecting Your Worm Population
Winter brings its own challenges, as worms slow down below 55°F (13°C). In colder areas, keeping worms safe is key for year-round success. My winter strategy includes:
I insulate my bins with straw bales, old blankets, or bubble wrap to keep them warm. I also move bins to get passive solar warmth. Feeding is cut in half since worms process food slower in cold.
In zones 5 or colder, moving bins indoors is often necessary. Even an unheated garage or basement can protect worms from freezing.
Why My Indoor System Outperforms My Outdoor Bins
My indoor vermicomposting system has always outdone my outdoor ones. The controlled environment means no temperature stress and better decomposition. Moisture levels stay perfect, avoiding drying or flooding issues.
Indoor vermicomposting means constant harvesting without seasonal breaks. I get about 30% more castings from my indoor bins than outdoor ones. It’s also super convenient, with food scraps going straight from the kitchen to the worms.
While outdoor systems fit better with large gardens, my indoor setup is the heart of my sustainable waste management. It provides consistent results, no matter the weather.
Harvesting and Using Your “Black Gold”
Worm composting magic happens when you harvest. After months of feeding, you get a powerful fertilizer. This fertilizer is better than anything you can buy.
When your bin is mostly dark, crumbly material, it’s time to harvest. This usually takes 3-4 months, depending on your bin and worms.
Ready-to-harvest vermicompost looks like dark coffee grounds. It smells earthy and feels light and fluffy. It’s full of worm castings and microbes that boost your garden.
Three Foolproof Harvesting Methods I’ve Perfected
I’ve tried many ways to get worms out of their castings. Each method works well, depending on how much compost you have and how fast you need it.
The Light Method
This method is simple because worms hate light. Just dump your bin on a tarp in sunlight. The worms will go down, and you can take the top layer of castings.
This method takes patience but little effort. Move the compost to one side, add new bedding and food, and wait 2-3 weeks. The worms will move to the new food, leaving the compost worm-free.
For quicker results, use a mesh screen. It lets worms through but keeps the compost separate. This makes harvesting easier.
The Screening Method
For the cleanest compost, use a 1/8-inch mesh screen. Shake the compost on top, and the castings will fall through. This method works best with dry compost.
| Harvesting Method | Time Required | Effort Level | Best For | Cleanliness of Result |
|---|---|---|---|---|
| Light Method | 1-2 hours | Medium | Small batches | Good |
| Migration Method | 2-3 weeks | Low | Continuous systems | Better |
| Screening Method | 2-3 hours | High | Large harvests | Best |
Application Techniques for Different Plants and Gardens
Your vermicompost is great for any plant. It’s safe to use a lot, but different plants need it differently.
Vegetable Gardens
For veggies, mix 1-2 inches of vermicompost into the soil before planting. This helps roots grow. For existing plants, add a ½-inch layer around the base monthly.
Tomatoes and peppers love vermicompost. Add a handful to planting holes for seedlings. They grow stronger and produce more.
Flower Beds and Ornamentals
For flowers, apply a thin layer (¼-½ inch) in early spring and mid-summer. This helps roses bloom better.
Houseplants and Container Gardens
For potted plants, mix vermicompost with potting soil when repotting. For houseplants, top-dress every two months. Or, make vermicompost tea to water plants weekly.
Container gardens do well with more vermicompost. Use a 1:3 ratio. This means less watering but plants stay lush.
Troubleshooting Common Vermicomposting Challenges
Even though vermicomposting is simple, knowing how to fix problems is key. I’ve faced many issues, like fruit flies and bad smells. But, most problems have easy fixes. With some knowledge and quick action, your worm bin can work great again.
Eliminating Odors and Unwanted Visitors
A good worm bin smells like a forest after rain. If it smells bad or has pests, don’t worry. These issues usually come from too much moisture, wrong food, or bad air flow. Fixing these problems can take just a few days.
Fruit Fly Prevention
Fruit flies can quickly spread in worm bins, more so in summer. I stop them by burying food deep and covering it with bedding. For fruit fly problems, I use apple cider vinegar traps and cover the bin with a cloth.
Mold Management
Some mold in a worm bin is good, showing it’s working. But, too much colorful mold is bad. If I see too much mold, I add dry bedding, cut down on food, and make sure it’s well-aired.
The best worm bin is damp, like a wrung-out sponge. If it’s too wet, add dry bedding and open the lid a bit. If it’s too dry, mist it with water and add moist foods.
Checking moisture weekly helps avoid most issues. I use the squeeze test to see if it’s right. A few drops of water should come out, not a lot.
Maintaining a Thriving Worm Population
Success in vermicomposting means a worm population that grows. Knowing what’s normal helps spot and fix problems early. With the right care, worms can double every 60-90 days.
Signs of Healthy Worms
Healthy worms move fast when light hits them and look moist and pinkish-red. They should be exploring, not clustering or trying to escape. Finding cocoons means your worms are reproducing well.
Addressing Population Decline
If worms are fewer or dead, find and fix the cause fast. Common reasons include extreme temperatures, wrong pH, or bad food. I once saved my bin by removing citrus peels and adding fresh bedding.
Check the bin’s temperature often—worms like 55-77°F. In hot weather, I moved my bin to shade and covered it with a towel. For indoor bins, test the pH and adjust with eggshells if needed.
Encouraging Reproduction
To get worms to breed more, keep conditions the same and feed them protein like coffee grounds. Right moisture and temperature are key. Letting the bin rest for weeks after fixing conditions helps worms multiply.
Beyond the Basics: Advanced Vermicomposting Techniques
Going beyond basic vermicomposting opens up new ways to improve your setup. After two years with a small worm bin, I scaled up and saw big changes. My earthworm humus production went up, and I could try new recipes. These advanced methods have made my garden healthier and cut down on waste.
Scaling Up: From Kitchen Counter to Backyard Operation
Expanding from one bin to many needs careful planning. I started with a second bin and then built a three-tiered system. This new setup could handle five times more than my first bin.
Ready to grow your operation? Here are some tips:
- Stacking systems that allow worms to migrate upward as they process material
- Horizontal flow-through bins that make harvesting easier while maintaining continuous production
- Rotation systems where multiple bins operate in different stages of decomposition
Expanding my setup led to more community involvement. I got coffee grounds from a local café and vegetable scraps from neighbors. This not only gave me more materials but also got others interested in vermicomposting. Just remember, bigger systems need the right balance of carbon and nitrogen to avoid problems.
Specialized Vermicompost for Different Garden Needs
Not all earthworm humus is the same. By changing what you feed your worms, you can make soil amendments for specific plants. My tomatoes grew huge after using vermicompost made with banana peels and eggshells. These are rich in potassium and calcium.
To make special vermicompost:
- For flowering plants: Increase banana peels and coffee grounds to boost potassium and phosphorus
- For leafy greens: Add more nitrogen-rich materials like fresh grass clippings
- For root vegetables: Balance with more carbon materials and aged manure
I also make vermicompost tea by steeping finished castings in water for 24 hours with a bit of molasses. This liquid fertilizer is great for plants. It’s full of microbes that help plants grow strong and fight off diseases.
From Waste to Wonder: Why Vermicomposting Changed My Relationship with Food and Gardening
Starting my journey with composting with worms five years ago changed my garden and my view on waste. What used to go in trash bags now feeds my worms. This creates a cycle of renewal in my kitchen.
I look at produce differently at the grocery store now. Outer cabbage leaves and carrot tops aren’t trash anymore. They’re future green manure for my tomatoes. My shopping habits have changed to whole foods that feed my family and worms.
Feeding kitchen scraps to worms made me more aware of food waste. I track what goes uneaten and adjust my cooking. My kids now see apple cores and banana peels as having purpose beyond the garbage can.
Harvesting my first batch of dark, rich castings each spring fills me with pride. This living soil amendment came from what most people throw away. My garden grows with vigor, better than store-bought fertilizers.
The beauty of composting with worms is its simplicity. Nature perfected this system, and we just need to help it along. Vermicomposting works in any space, from tiny apartments to large acreages.
I see my worm bin as more than a composting system. It’s a tiny ecosystem that connects me to natural cycles. It reminds me that in nature, nothing is truly waste. Everything transforms, contributes, and returns.

